Little Miss E loves crafts and it’s a good thing that I do too! Some days she’ll make slime with her dad, do a holiday art project with our nanny, or she’s even satisfied playing with mess free finger-paints. (If you haven’t checked them out, you totally should!) Recently, I was on the hunt for something new to try with her. We tried edible play dough that both she and Baby G could play with, but it was a disaster! There were little crumbs everywhere! So, we continued our hunt and landed on a really cool, super easy, DIY puffy paint!
Super Easy To Make
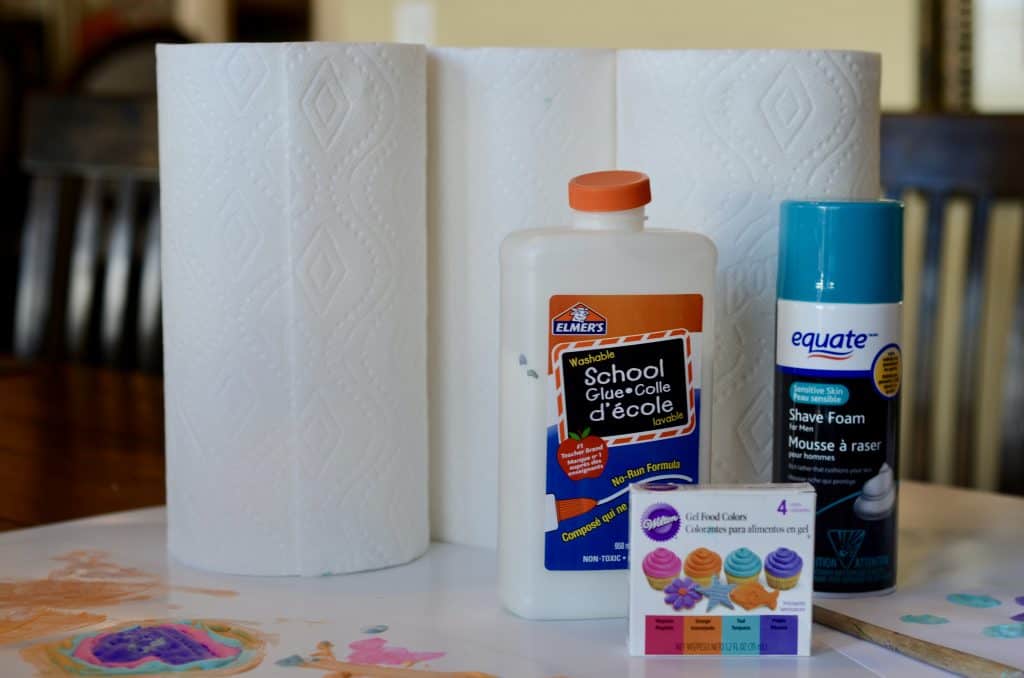
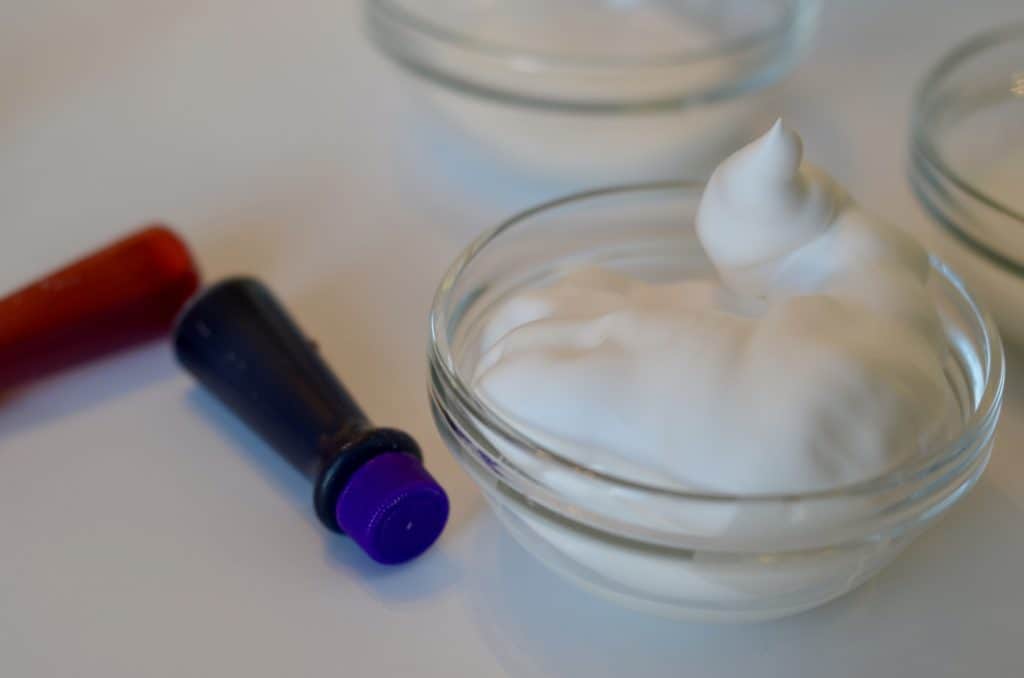
You only need 3 simple ingredients that you likely already have at your house to make the puffy paint.
- Shaving Cream
- White Glue
- Food Coloring
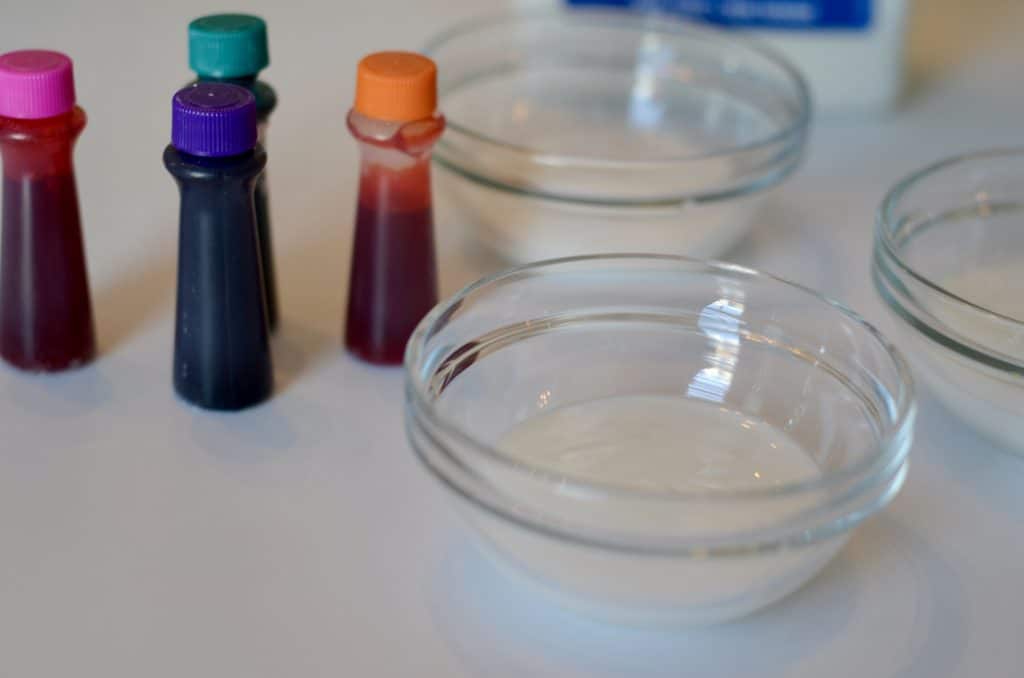
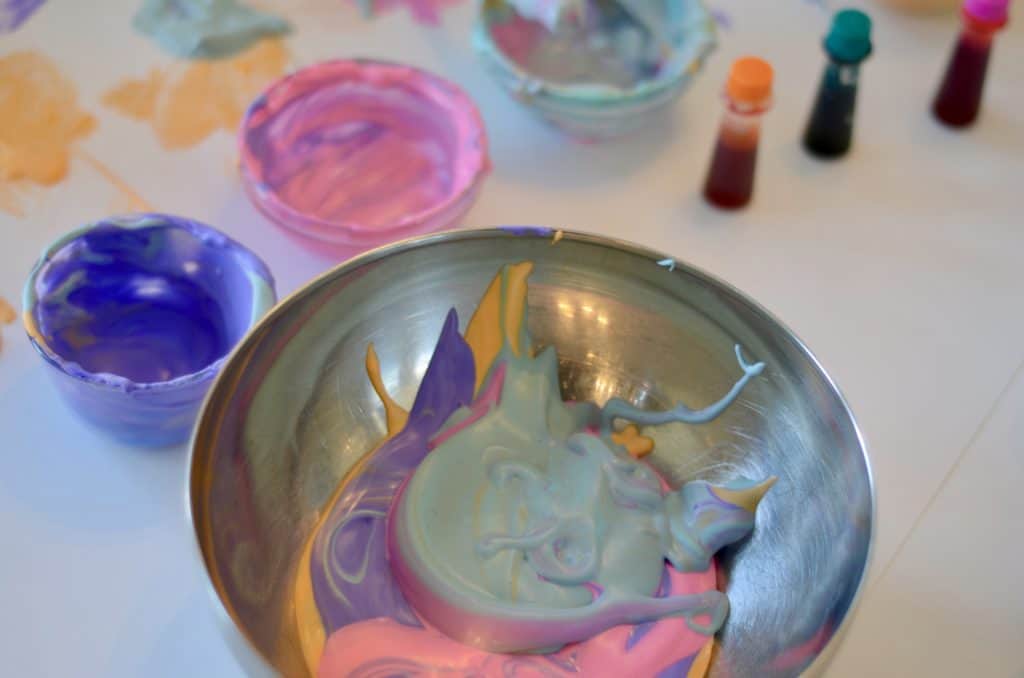
In a bowl, poor the glue first, I used about 2 tablespoons. Next, add the Shaving Cream. I used a ¼ cup. You can play with the mixture until you get the texture you want for your puffy paint. Part of what makes this super easy is that it’s not an exact science and it is pretty hard to mess up! (Can I get a woot woot from all the crafting parents out there?!?)
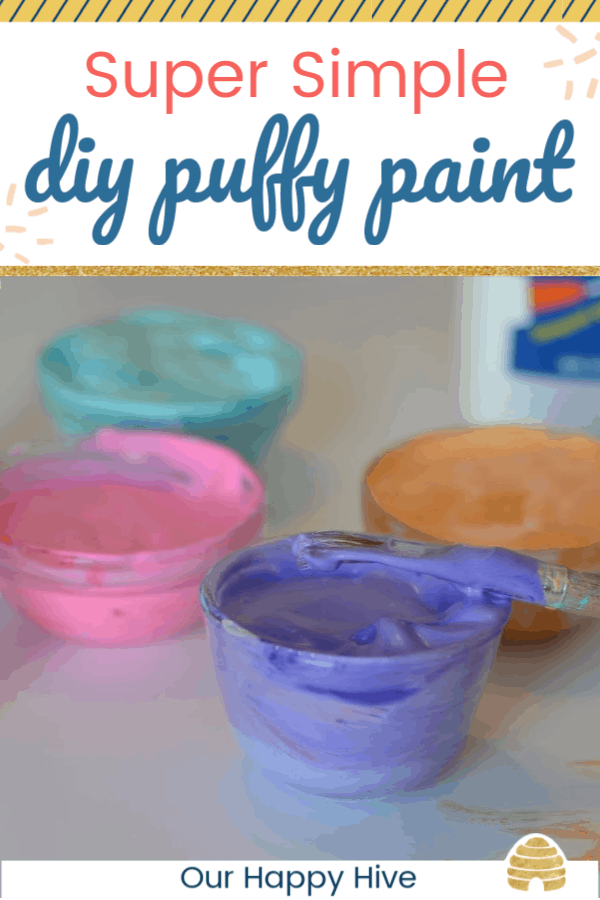
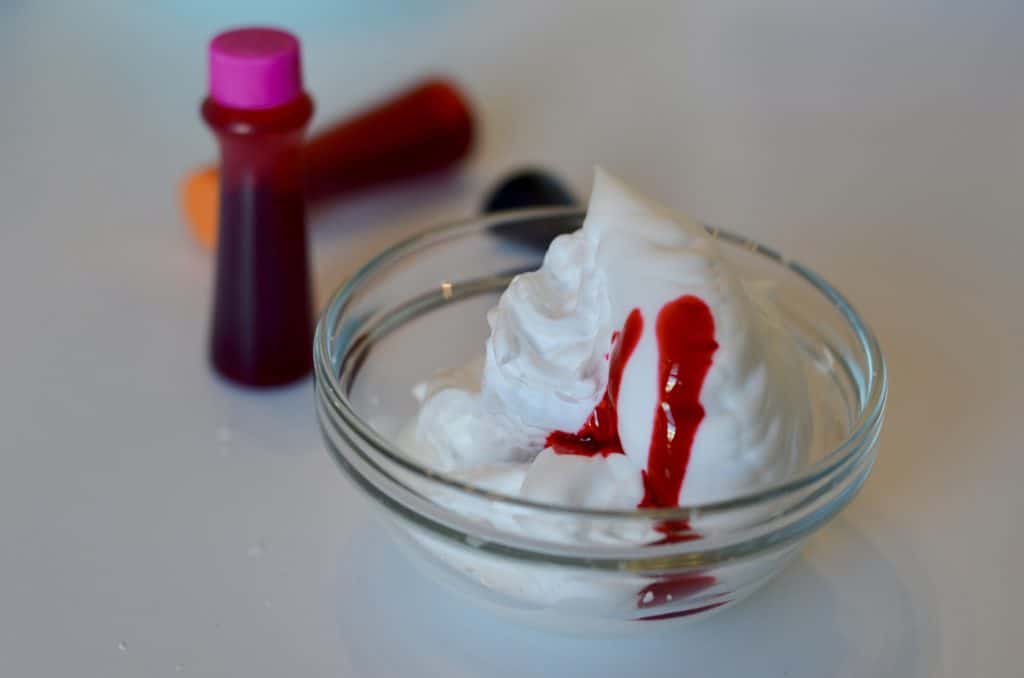
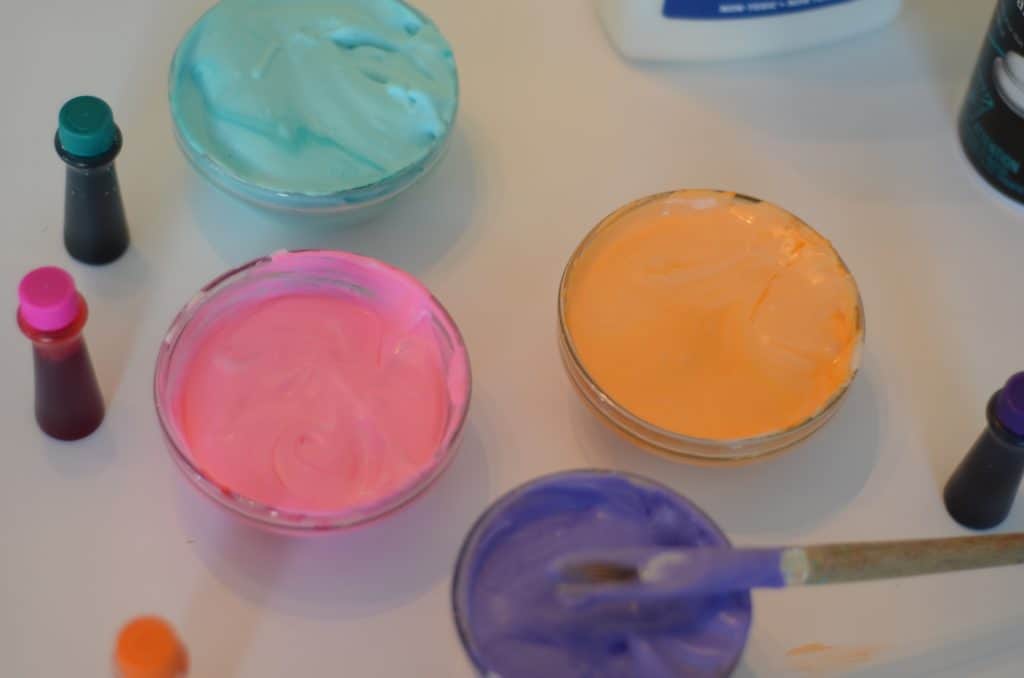
Add a few drops of food coloring until you get the desired shade and voila, you have Puffy Paint! Easy peasy, right? Repeat the process until you have the desired number of colors.
You may want to have a couple of other supplies on hand. Paper Towels is a must, especially if you’re working with a 4-year-old or younger. Also, a craft apron is helpful if you anticipate they might get it on their clothes. You’ll also want something to cover the table.
Easy To Use
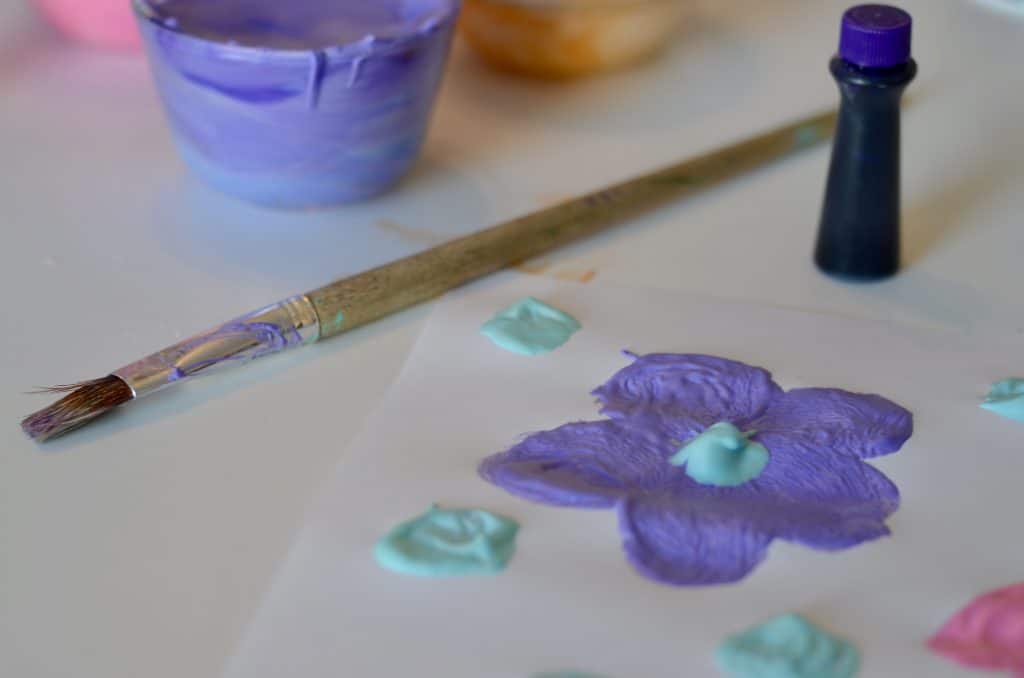
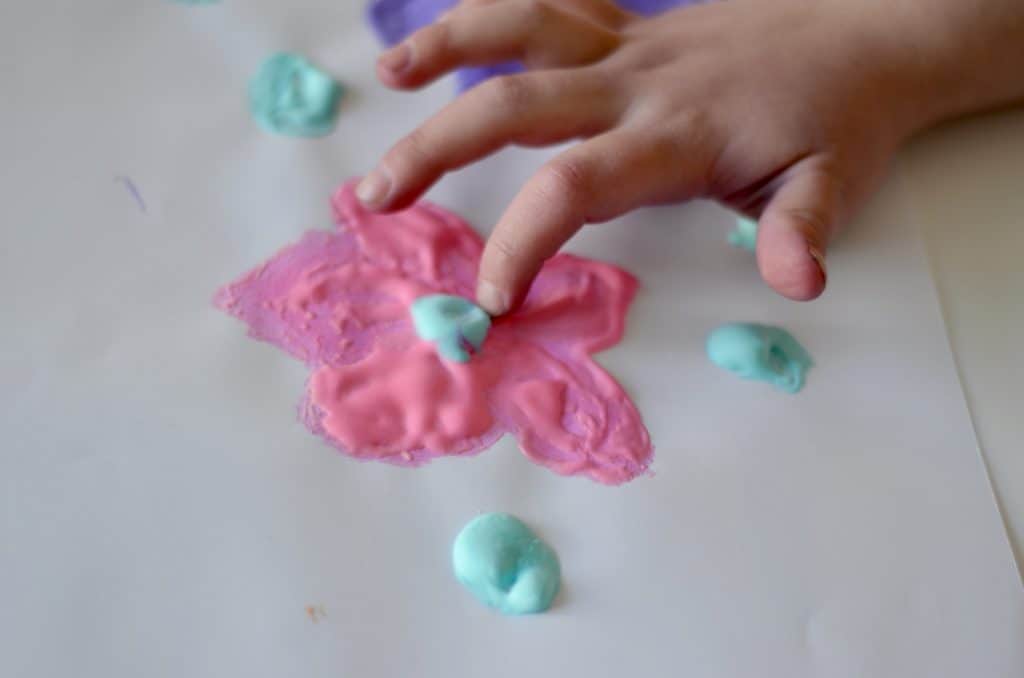
We used a paintbrush and it worked fine. Little Miss E was very happy with it. Note: the puffy paint is thick, so your child won’t be able to paint a super detailed picture with it. They could do something simple like a Star, Flower, Heart, Football, Sword etc.
If you want a little twist on the paint, you could:
- Use a plastic bag (like icing a cake) instead of a paintbrush
- Add some glitter for an extra sparkle
When the puffy paint drys it has a cool bouncy texture. The thicker the paint is the longer it takes to dry. If your little one is like Little Miss E, they’ll be tempted to push and squeeze it asap! If it’s too soon, the inside part will squish out.
Easy To Clean
Clean up was super easy too. My daughter did her usual trick and mixed all of the colors of puffy paint to see what new color she could create. This shenanigan made things a bit messier, but nothing a paper towel couldn’t handle. We simply wiped everything up with a wet paper towel, scooped the excess puffy paint into the trash and washed out the bowls/paintbrush.
Will I Do It Again?
This super simple puffy paint will be in my bag of craft mom tricks. It’s great that I don’t have to go to the store to get any ingredients since they are already on hand. It’s quick to make and easy to clean up. Seriously, how could you go wrong with trying this out with your littles? To be honest, I had fun playing with it too!!!

Do you need other kid-friendly activities? If so, check out these posts
The only Kids Activities Resource You’ll Ever Need
50+ Things To Do With You Kids In Spring & Summer

That is such a great idea! I’ll be making this with my kids!
Belle | http://www.OneAwesomeMomma.com
I had no idea it was so easy! What a fun activity with the kids!
My daughter is all about this stuff. I will have to see if she has tried this one. Thanks for sharing.
I love seeing the creative ways to engage the little ones for arts and crafts. Very fun!!!
How fun! No kids for me, but I kind of want to do this myself 😉