Skip to content
Blog
Subscribe
Contact
Instagram
Pinterest
Facebook
Search
Home
About
Bee Organized
Expand
Decluttering
Organizing
Cleaning
Bee Efficient
Expand
Time Saving Tips
Money Tips
Bee Inspired
Expand
Family Fun with Kids
Celebrations & Holidays
Momming
Marriage
Other Sweet Stuff
Expand
Free-Bee Library
Blogging
Shop
Toggle Menu
Author: Melissa @ Our Happy Hive
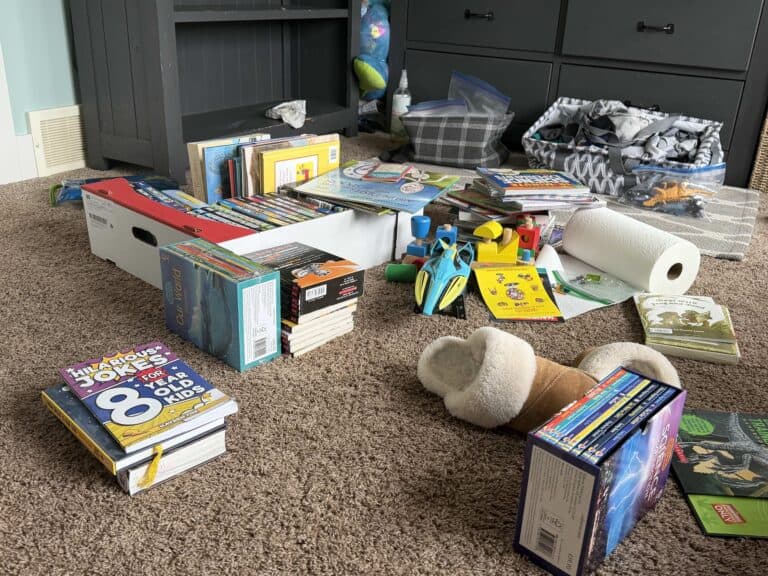
How to Get Kids to Declutter Without a Fight (What Actually Worked for Us)
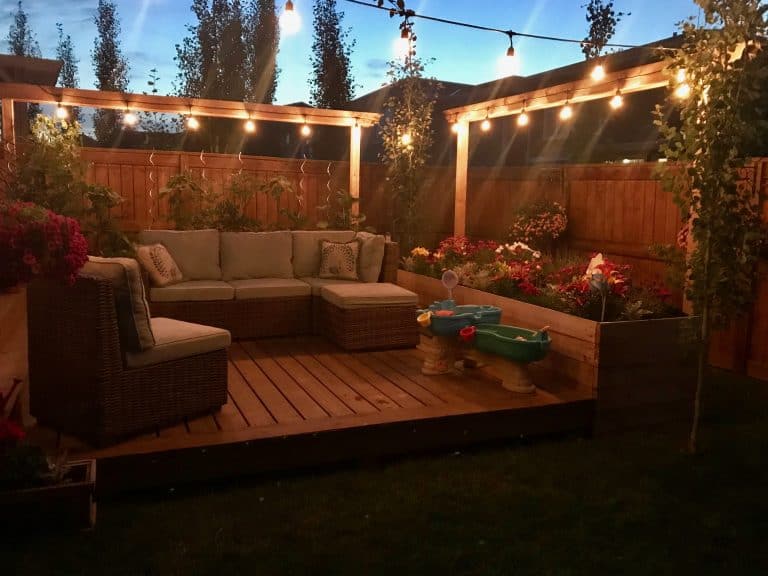
14 Tips to a Family Friendly Backyard (even if your yard is small)
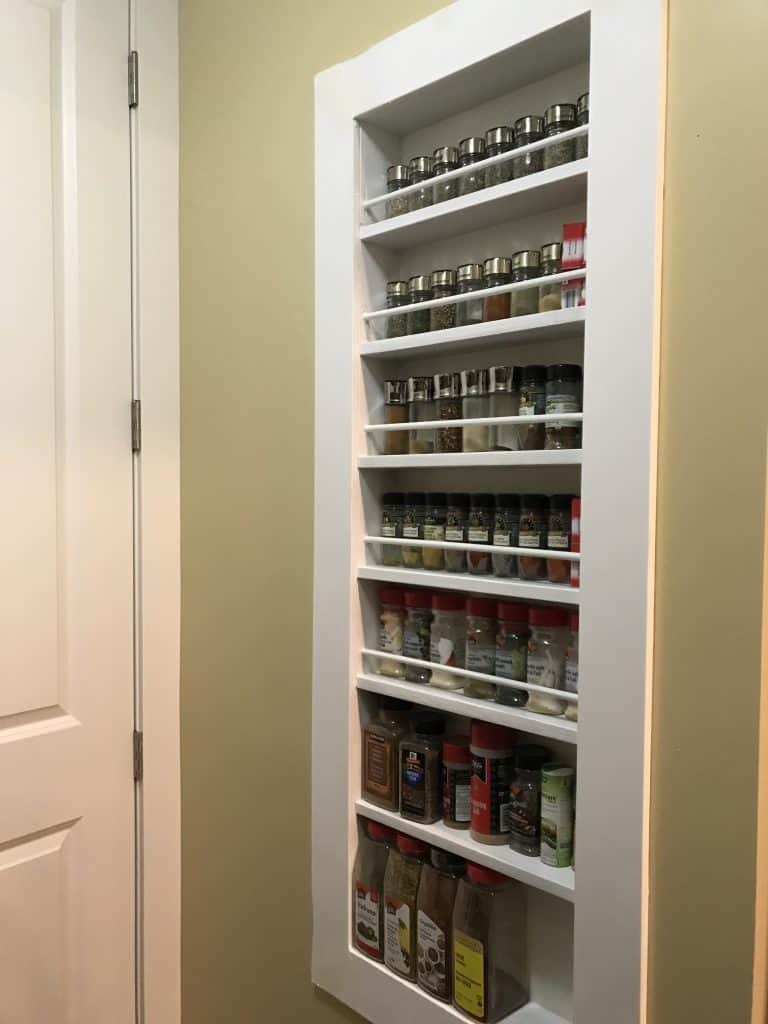
Spice Things Up With a – DIY Built-In Spice Rack
How to Simplify Thanksgiving Meal Prep: Simple Systems for a Stress-Free Holiday
30+ Must-Do Tasks to Winterize Your Home Before the First Freeze
Page navigation
1
2
3
…
38
Next Page
Next
Scroll to top
Scroll to top
Home
About
Bee Organized
Toggle child menu
Expand
Decluttering
Organizing
Cleaning
Bee Efficient
Toggle child menu
Expand
Time Saving Tips
Money Tips
Bee Inspired
Toggle child menu
Expand
Family Fun with Kids
Celebrations & Holidays
Momming
Marriage
Other Sweet Stuff
Toggle child menu
Expand
Free-Bee Library
Blogging
Shop
Facebook
X
Instagram
Shop
Toggle Menu Close
What are you looking for?
Search for:
Search