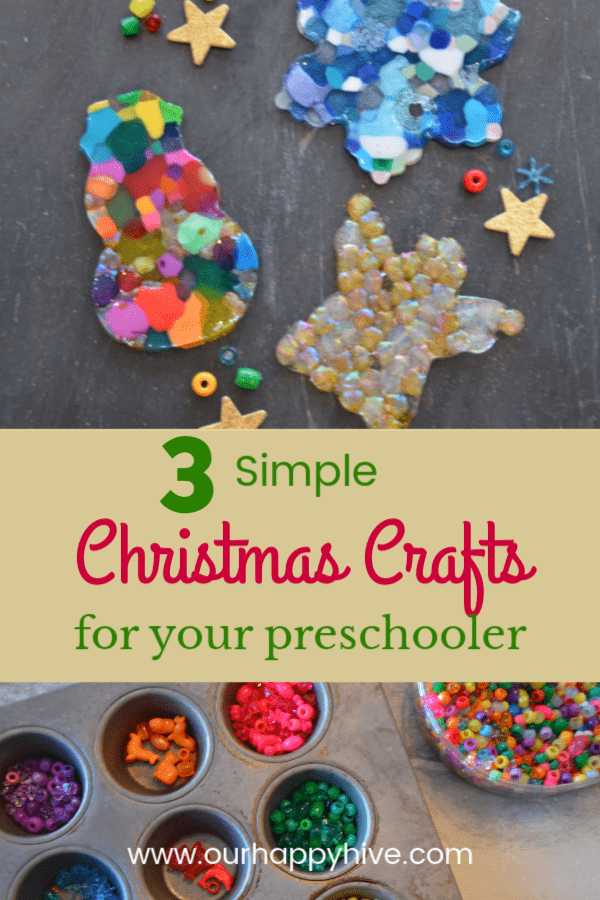
One of the things I love about the holidays is doing Christmas Crafts with Little Miss E. She thoroughly enjoys doing crafts, we make wonderful memories together and are more bonded as a result. Little Miss E is a daddy’s girl, often declaring that Saturday is “Dadurday” (after the book by Robert Munsch), but in anticipation of a morning of crafts, today she declared it was “Momerday.” This week and next, I’ll share with you 3 simple crafts you can do with your preschooler.
Craft #1 Bead Ornaments
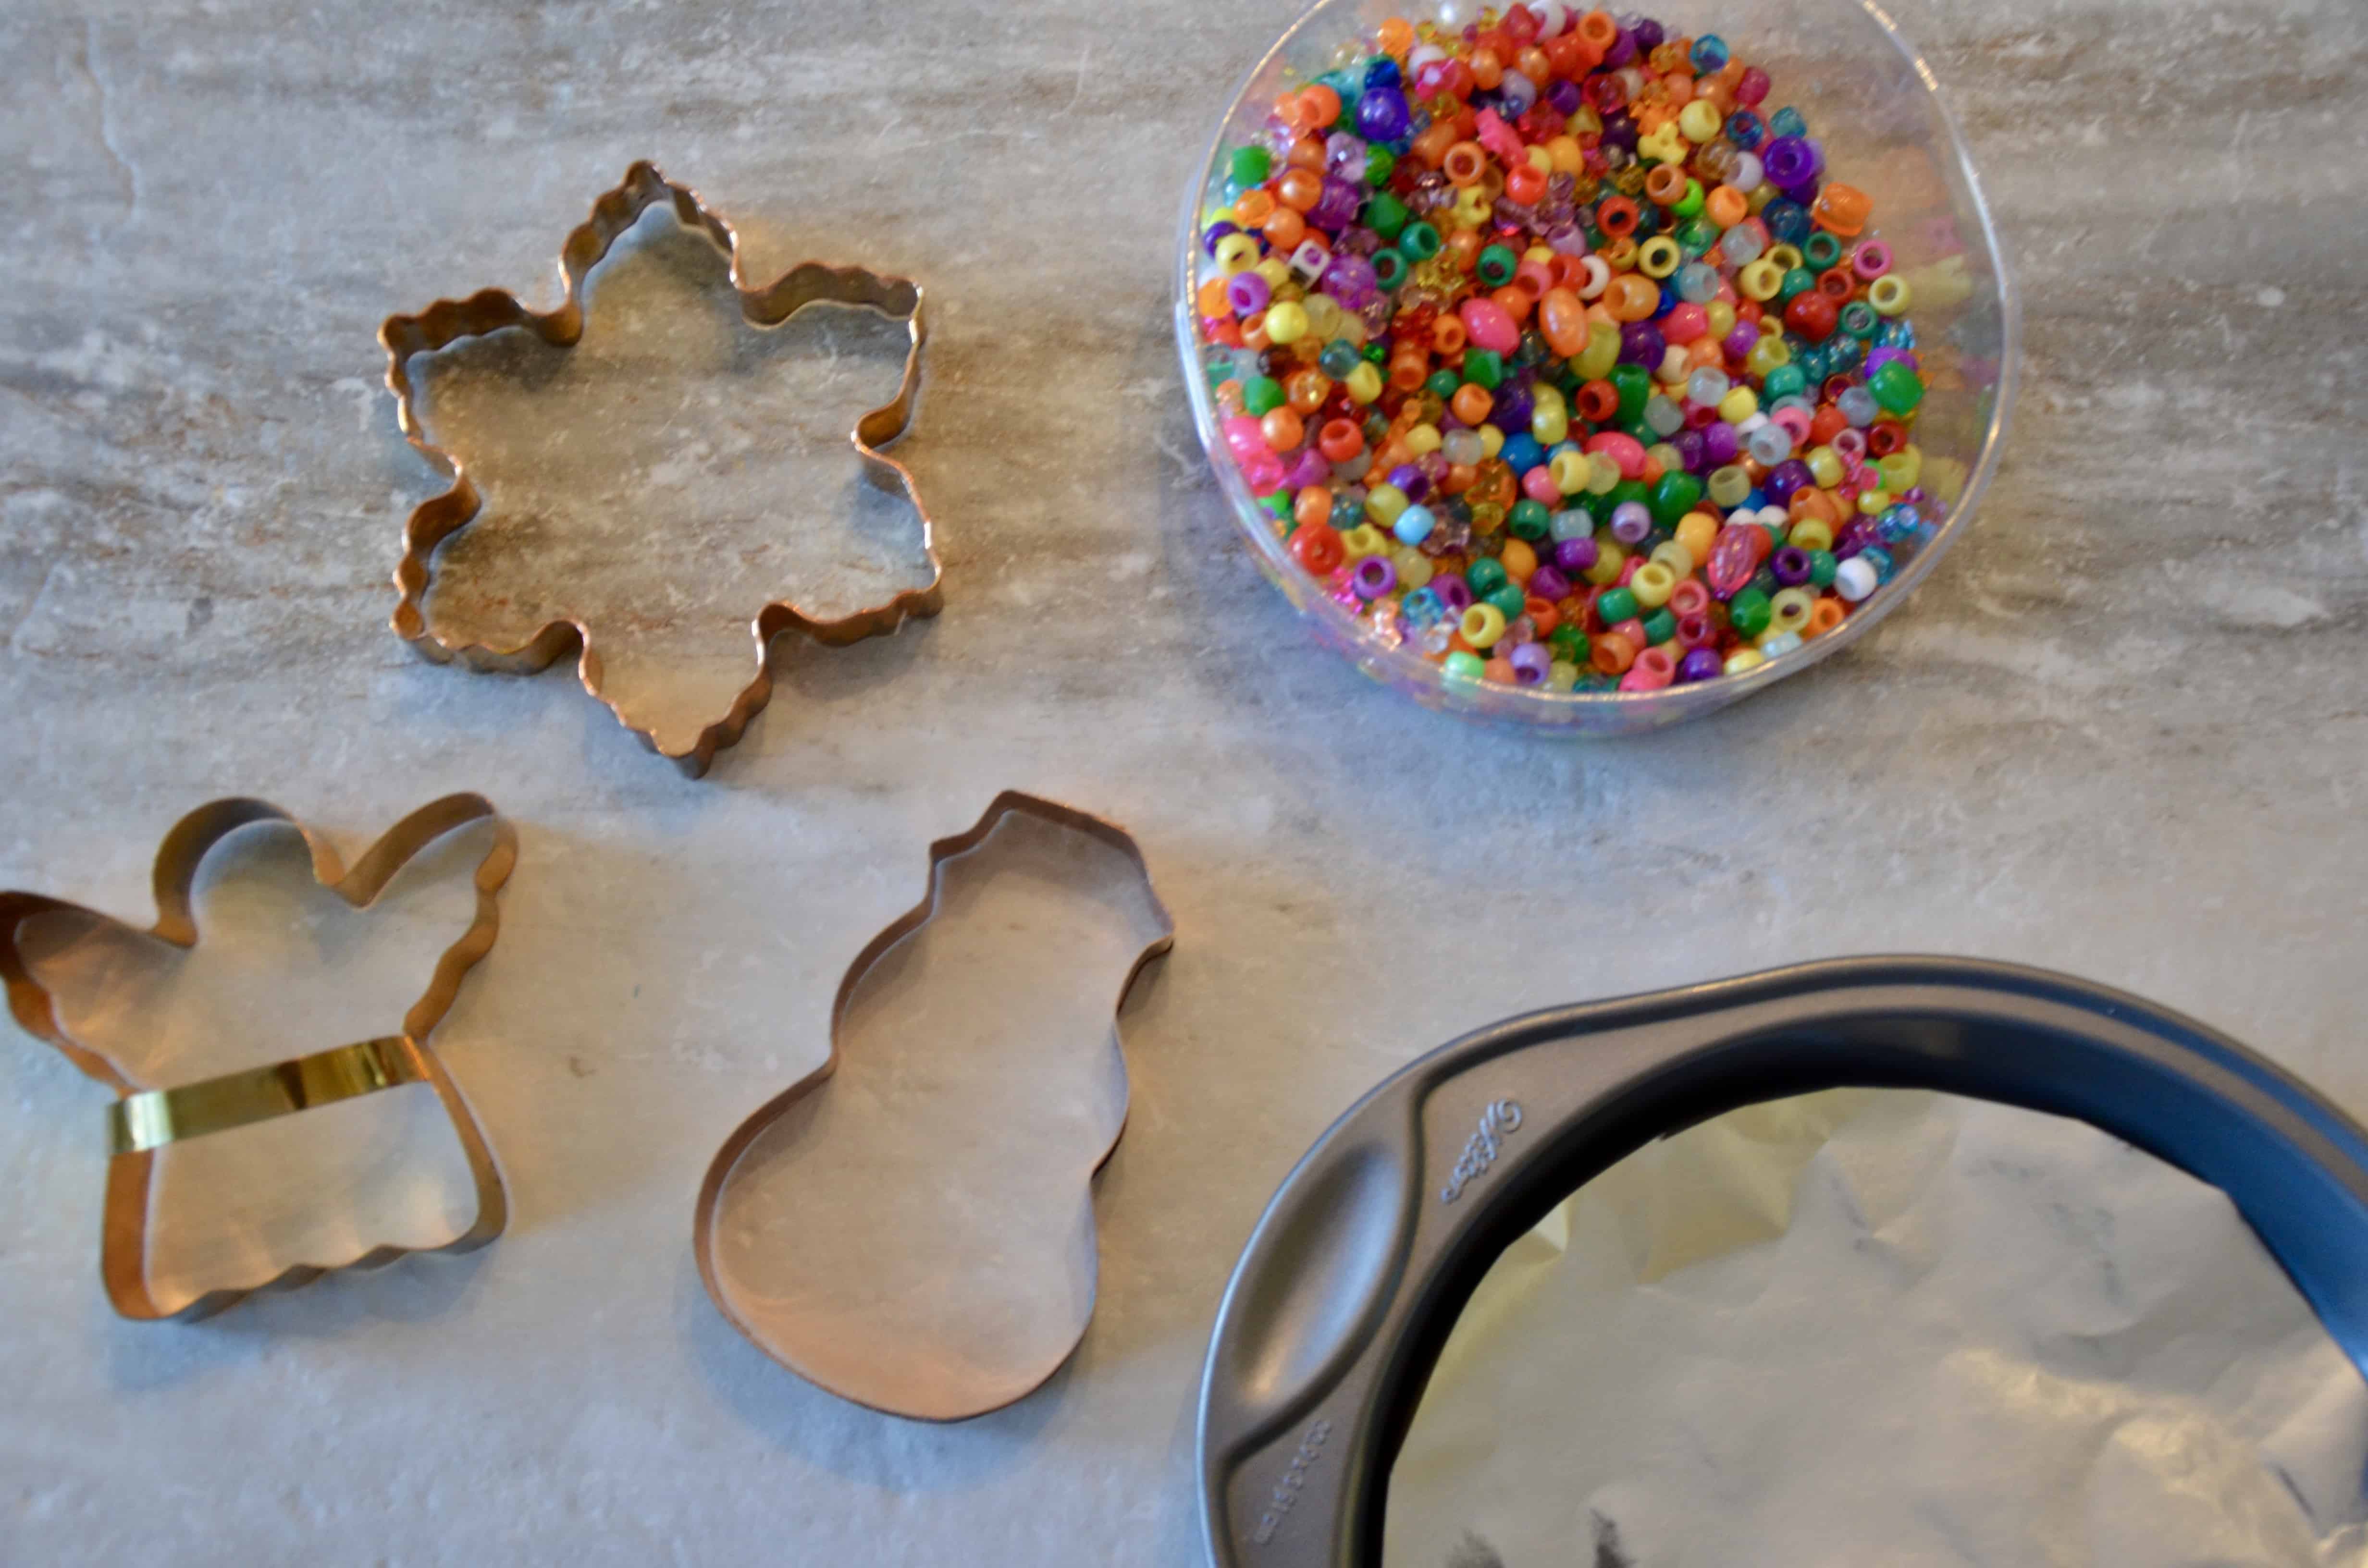
Project Materials:
- Metal Cookie Cutters
- Pony Beads
- Metal cookie sheet or pie pan
- Foil
Metal Cookie Cutters
It doesn’t matter what type of metal cookie cutters you use, but I would avoid any that are painted.
Beads
We purchased a variety pack of plastic beads. It had the traditional pony beads as well as beads in the shapes of animals. Little Miss E loves to use the animals in her ornaments, but at the end of the day, it doesn’t really matter. They all melt.
Pan
Given that I’m working with a 3 year old, a pan that has a rim is a must. It helps to contain the mess. Not all beads stay in the pan over the course of the project, but the majority of them do!
Step 1:
Preheat oven to 450°
Step 2:
Cut out foil to fit the size of your pan and place in pan
Step 3:
Choose metal cookie cutter(s) for ornament design
Step 4:
Fill metal cookie cutter with beads. It’s important to make sure that there is a solid layer of beads. Two layers make it too thick for cooking. In some instances, I have used 1.5 layers, where I put some (non pony-beads) on their side to fill in the gaps. The plastic melts but does not spread a lot, so if there are holes before you bake, you’ll have gaps after you bake. Have fun with this part- there are many ways you can do this.
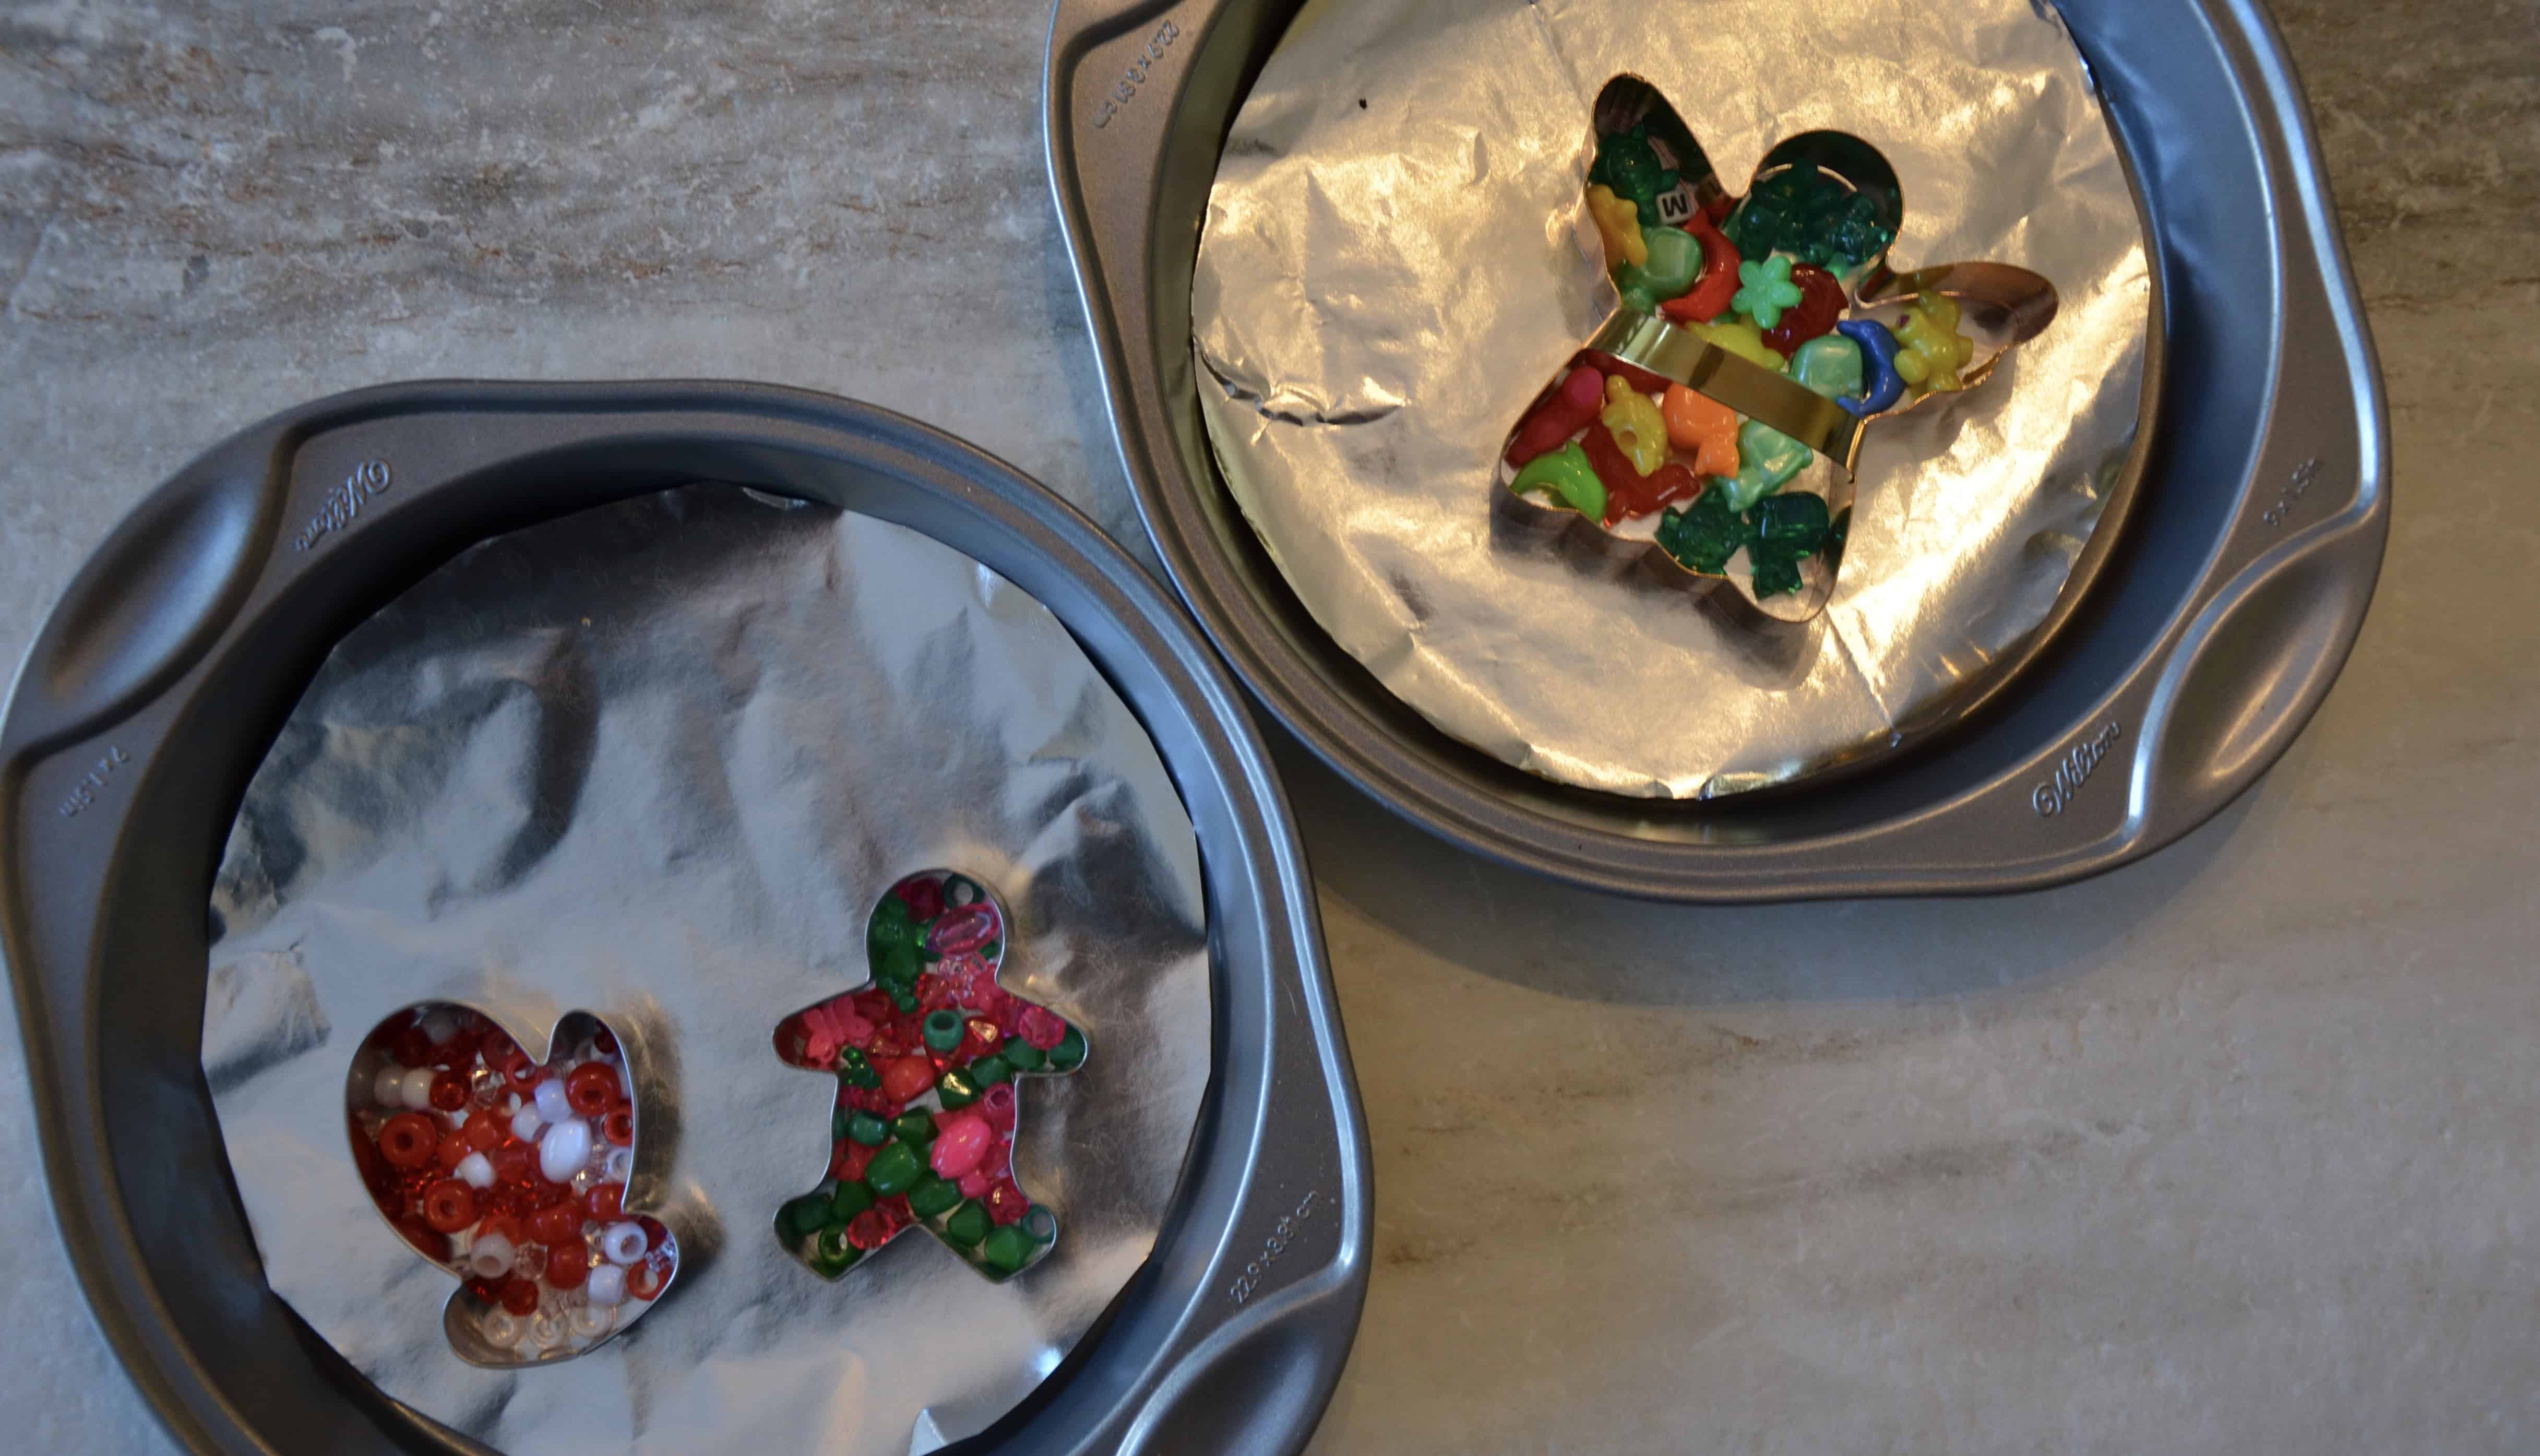
- Option 1: Similar shade: Choose beads that are a similar shade for example, all shades of blue.
- Option 2: Complementary Colors: Chools 2-3 colors that go well together for example red and white or pink and green
- Option 3: Variety of Color: Anything goes here, put in as many colors as you want.
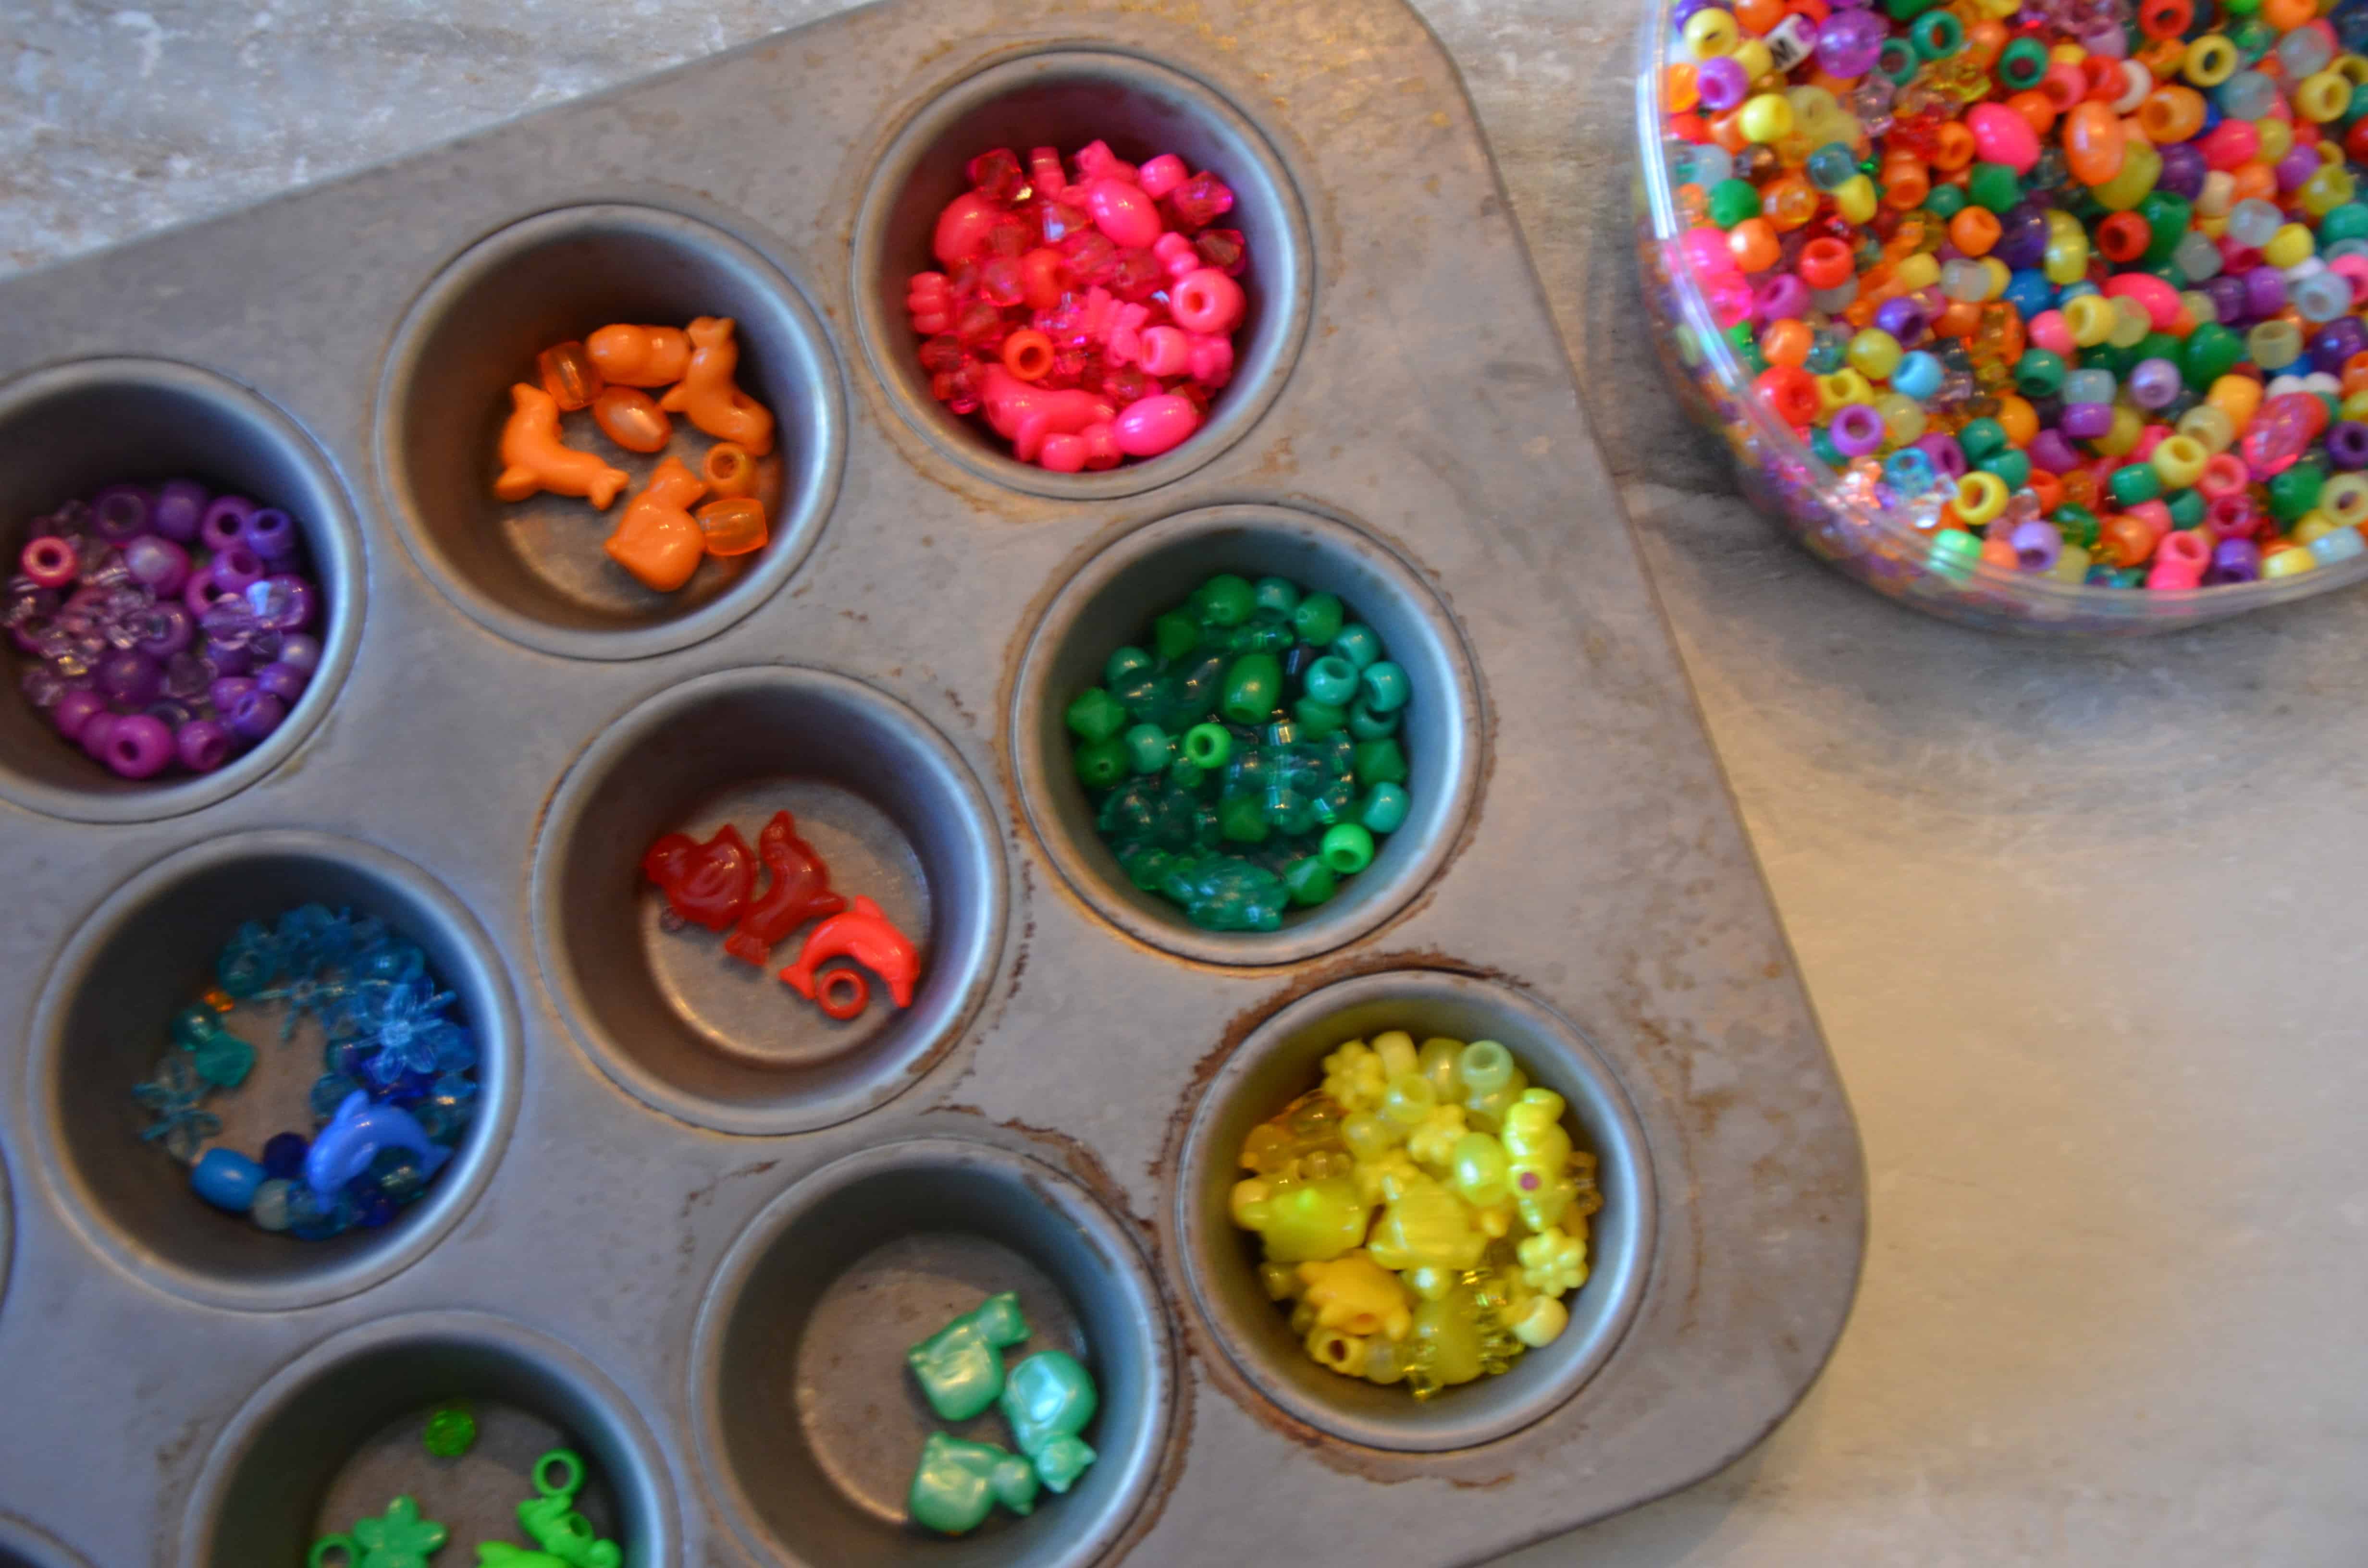
Side Note: Another activity you can do is have your child separate the colors into muffin tins. This helps with color identification as well as fine motor skills
Step 5:
Once done with your design, place the pan in the preheated oven for about 11 minutes. The beads have a strong odor when they melt, so makes sure you’re doing this in a well-ventilated space. If you keep them in too long, they will begin to smoke. If they aren’t in long enough, you’ll still be able to see texture from the beads and your ornament will appear bumpy (which you may prefer).
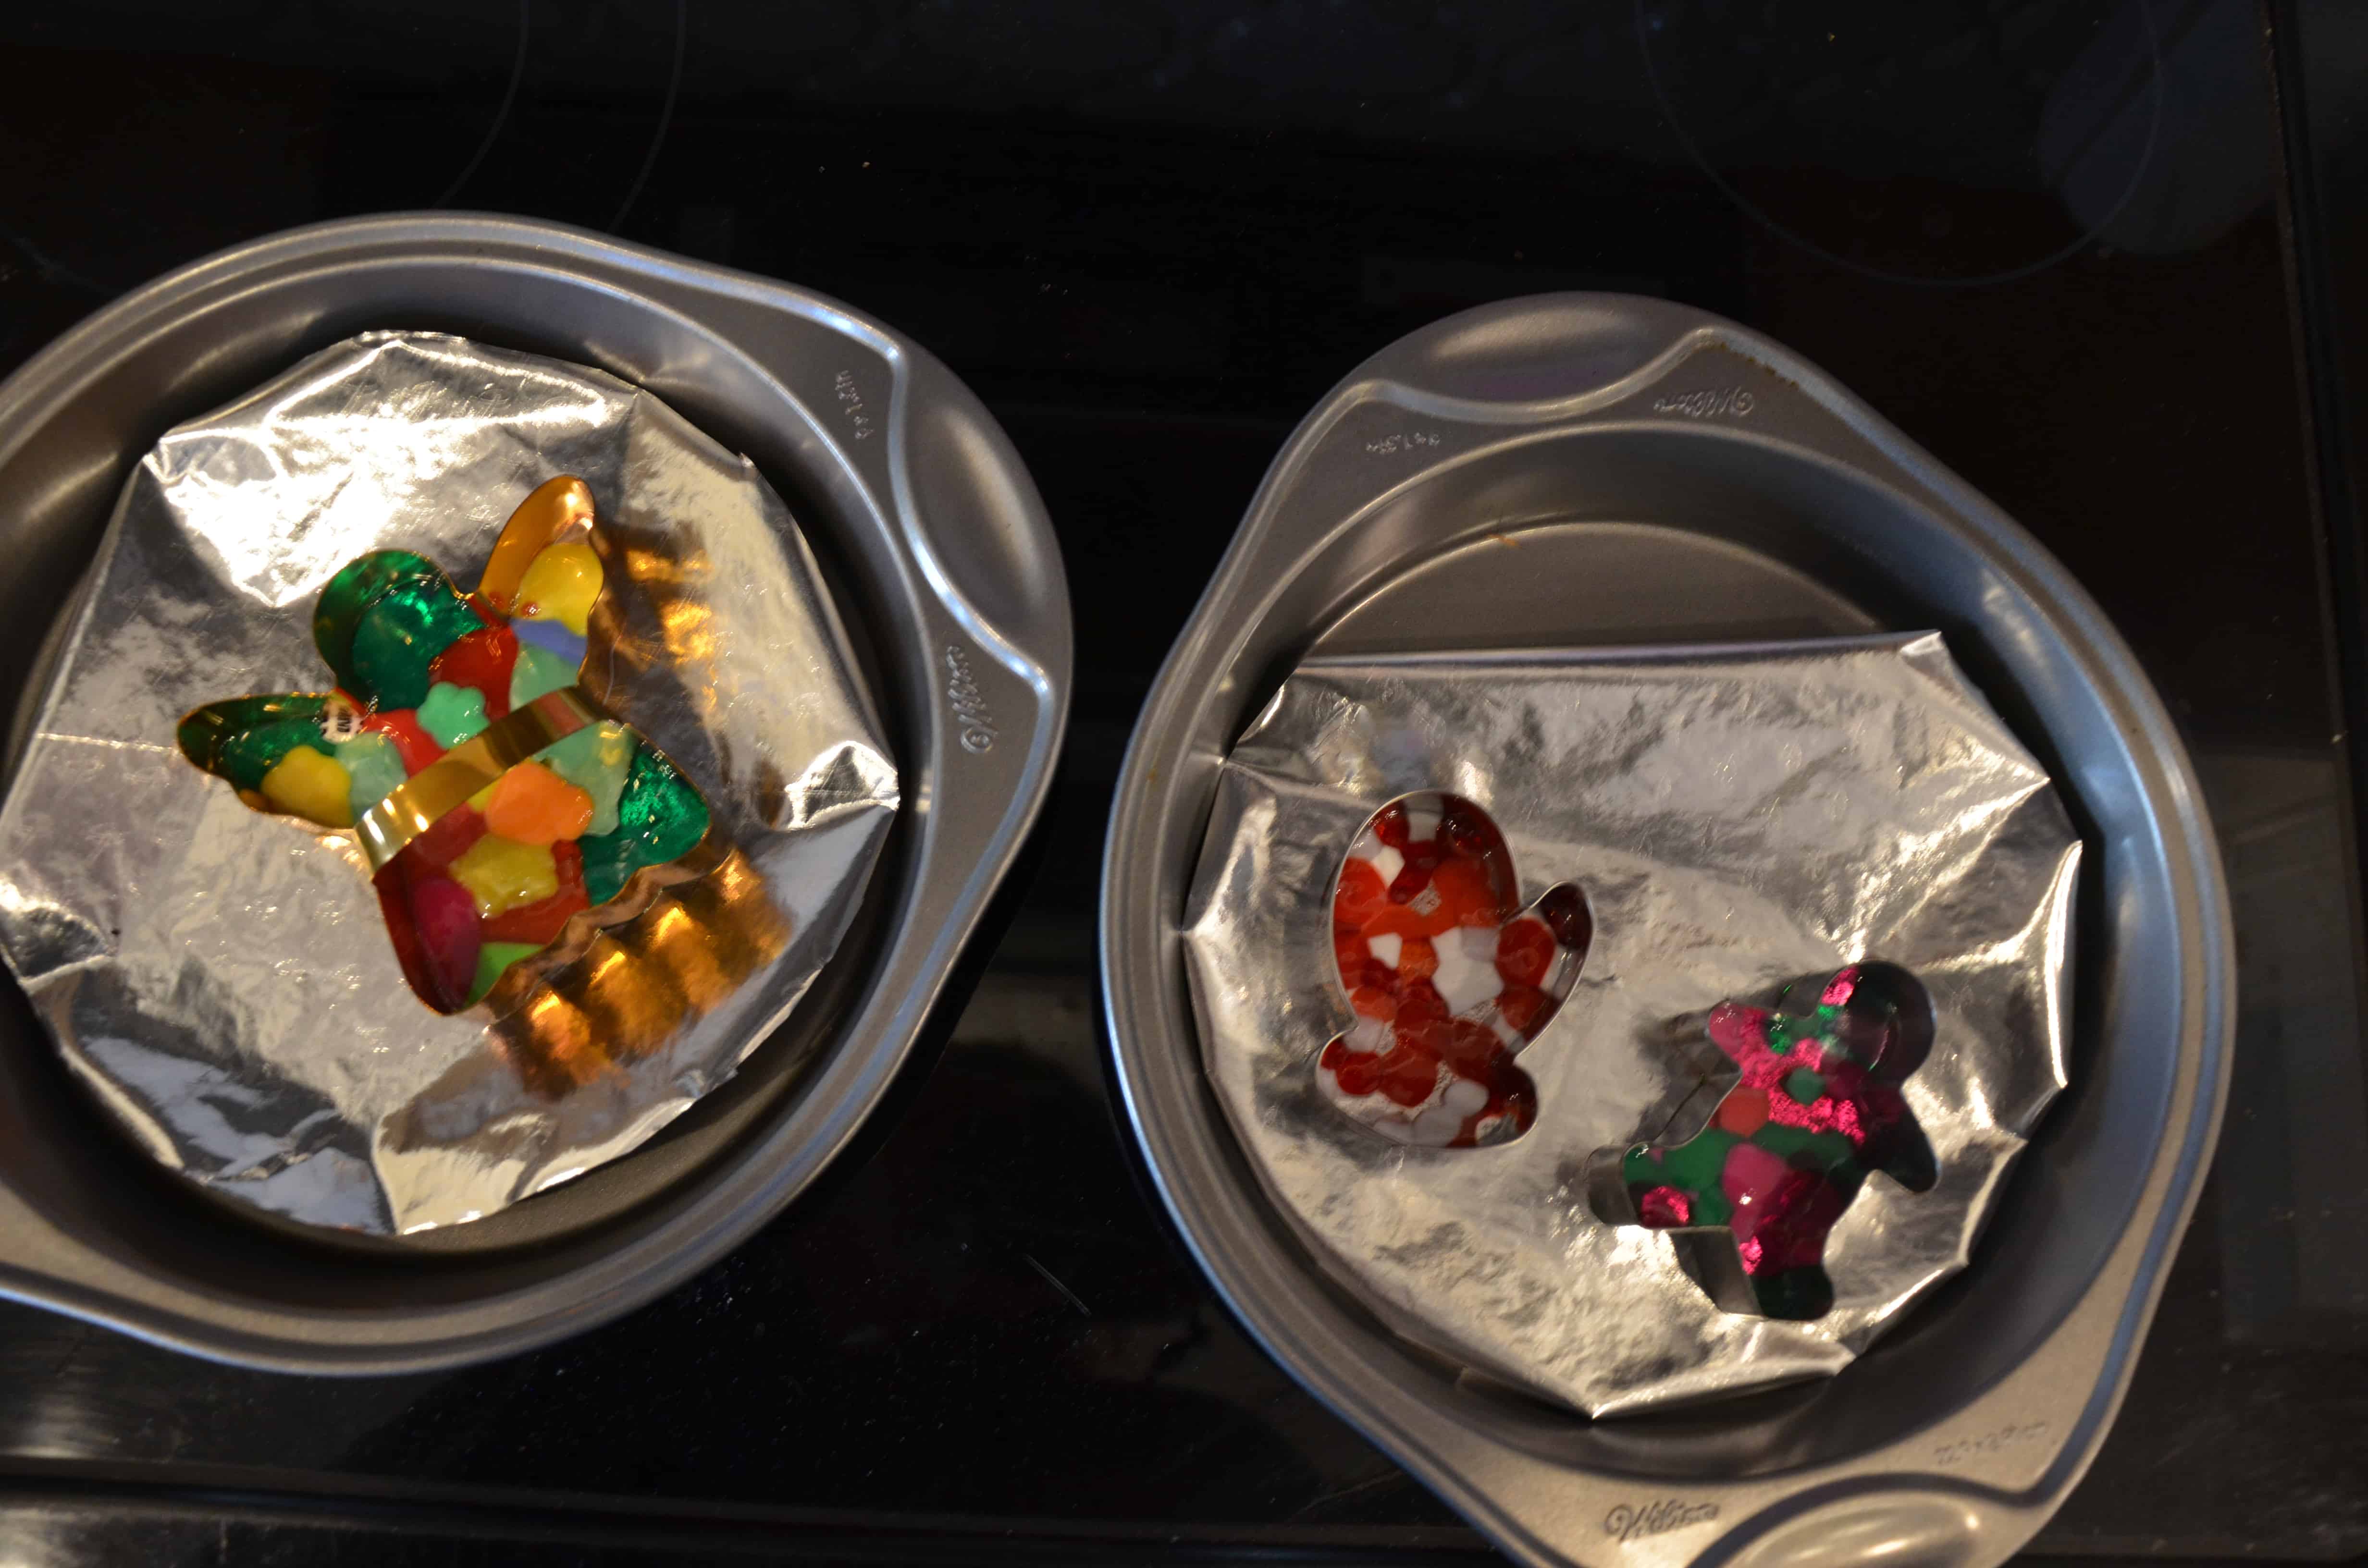
Step 6:
After the beads have melted, take them out of the oven and allow them to cool for 10 minutes. Once cooled, gently take the cookie cutter off. I find it helpful to use a butter knife to help separate the plastic ornament from the metal cookie cutter.
Step 7:
Use a drill to make a hole at the top of the ornament and tie a ribbon around to hang on the tree or use as a present topper when wrapping Christmas gifts.
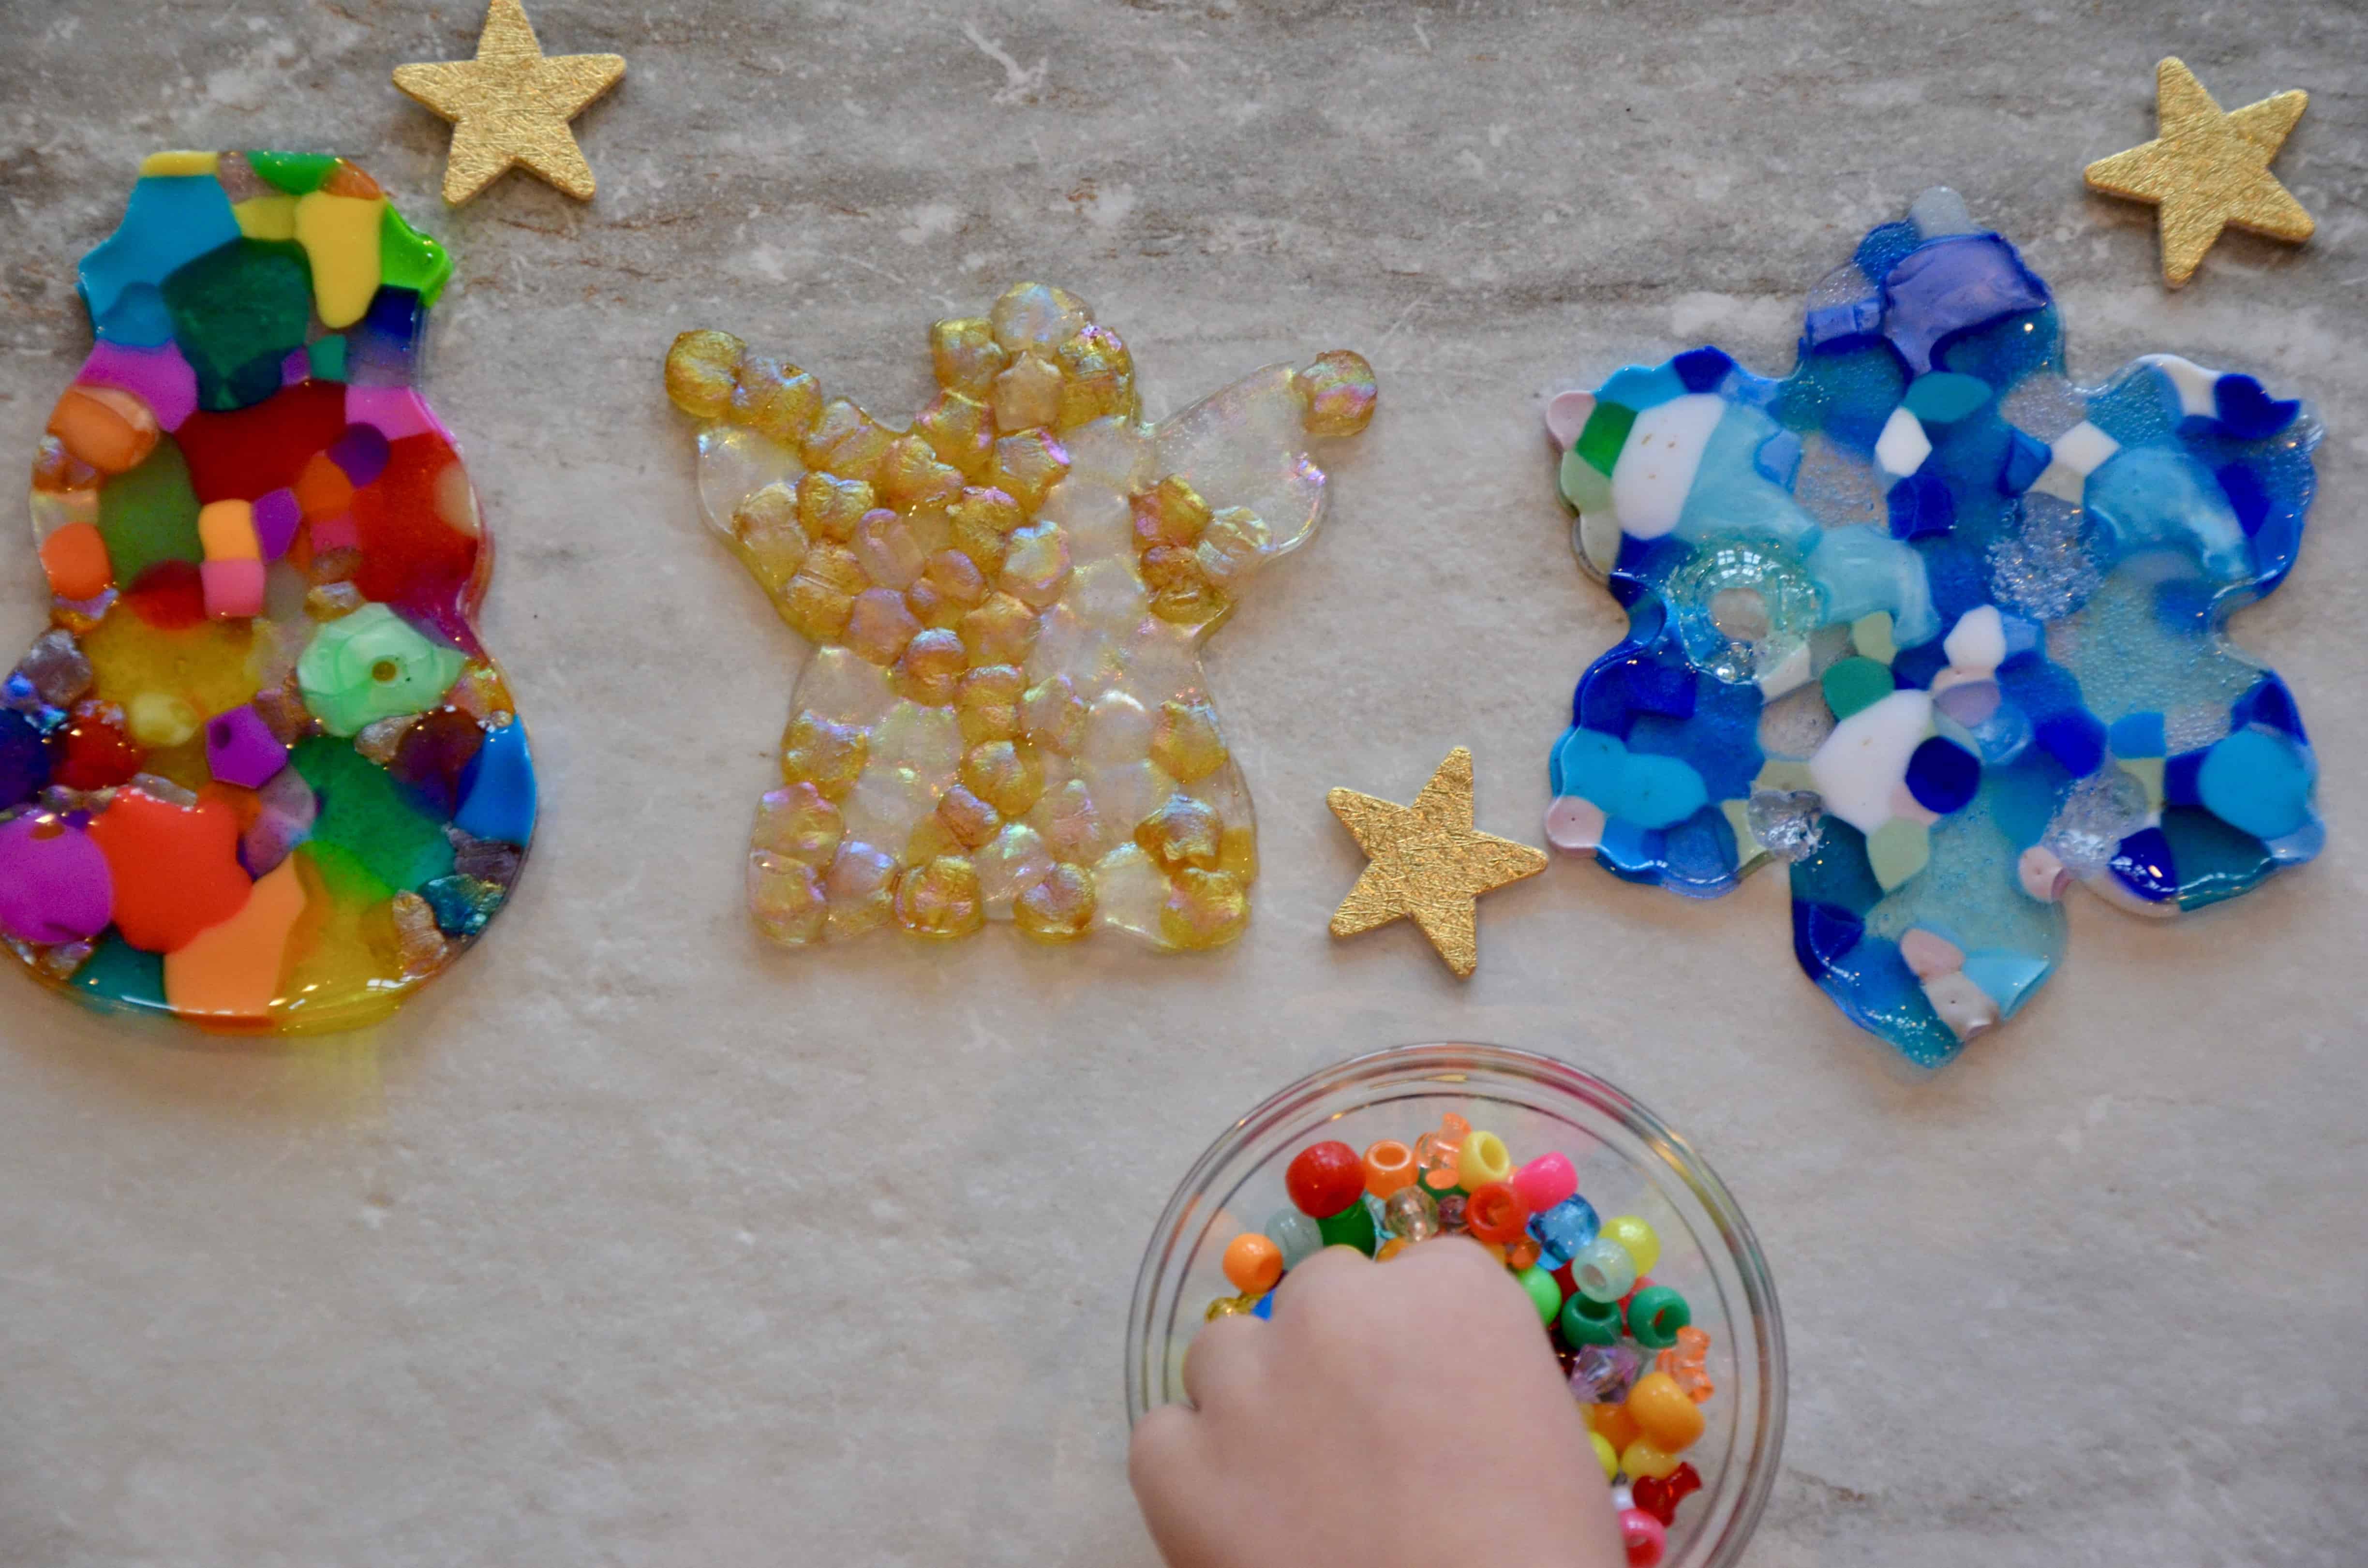
And there you have it, a fun, easy and beautiful Christmas craft. Be sure to check back next Tuesday for two more Christmas crafts you can do with your preschooler!

Check out these other Christmas Posts for more holiday inspiration. 🎄🎁😍
- How to Host One AH-MAZE-ING Christmas Cookie Exchange
- 6 Christmas Traditions for Making Happy Memories


This is such a great idea! I want to do it with my son!
Glad you like it Susannah!
This is excellent! My mum runs a daycare and I’ve passed your post along to her! 🙂
Thanks for sharing. As they say, sharing is caring. 🙂
Those ornaments are so cute! I am going to have to make them with my little people next month!
Great! Hope it goes well!
Ahh these are great! I’m going to put this in my to do list with my 3 yr old! Thanks for sharing!
Good to hear. I had fun doing them myself!
This would be an amazing DIY project for kids to take part in! I especially like the idea of making them into colourful Christmas tree decorations.
Thanks Gaby!
Excited to try some of these with my preschooler ❤️ Would you mind if i write a blog post on them and link to you??
That would be great! Thanks Rosie!
These are just too cute, love this idea. I’m going to try this with my 3-year-old. Thanks for sharing.
My daughter is 3 almost 4 and we did them last Christmas as well as this year. It’s a totally doable project for this age group!
Very cute! Excited to try this!
Great! Let me know how it goes. 🙂
Awesome idea, I already showed this to my 7 year old and now she’s practically begging me to help with her make this. Thanks for sharing.
I used to make these as a kid! Brings back memories <3
Oh! What a great idea! We have so many of those beads laying around! Thank you!!
These are adorable and so cute! This is something my 3 year old daughter would just love to do. Thank you for the post!
Very cute!! Can’t wait to try with my little guy 🙂
This is so much fun!! I remember doing this as a kid too and it’s a blast!!
These are such fun ideas. I can’t wait to try some out with my son!
I love these for my class. I am going to bookmark them.
Great ideas! My kids loved stuff like this when they were little.