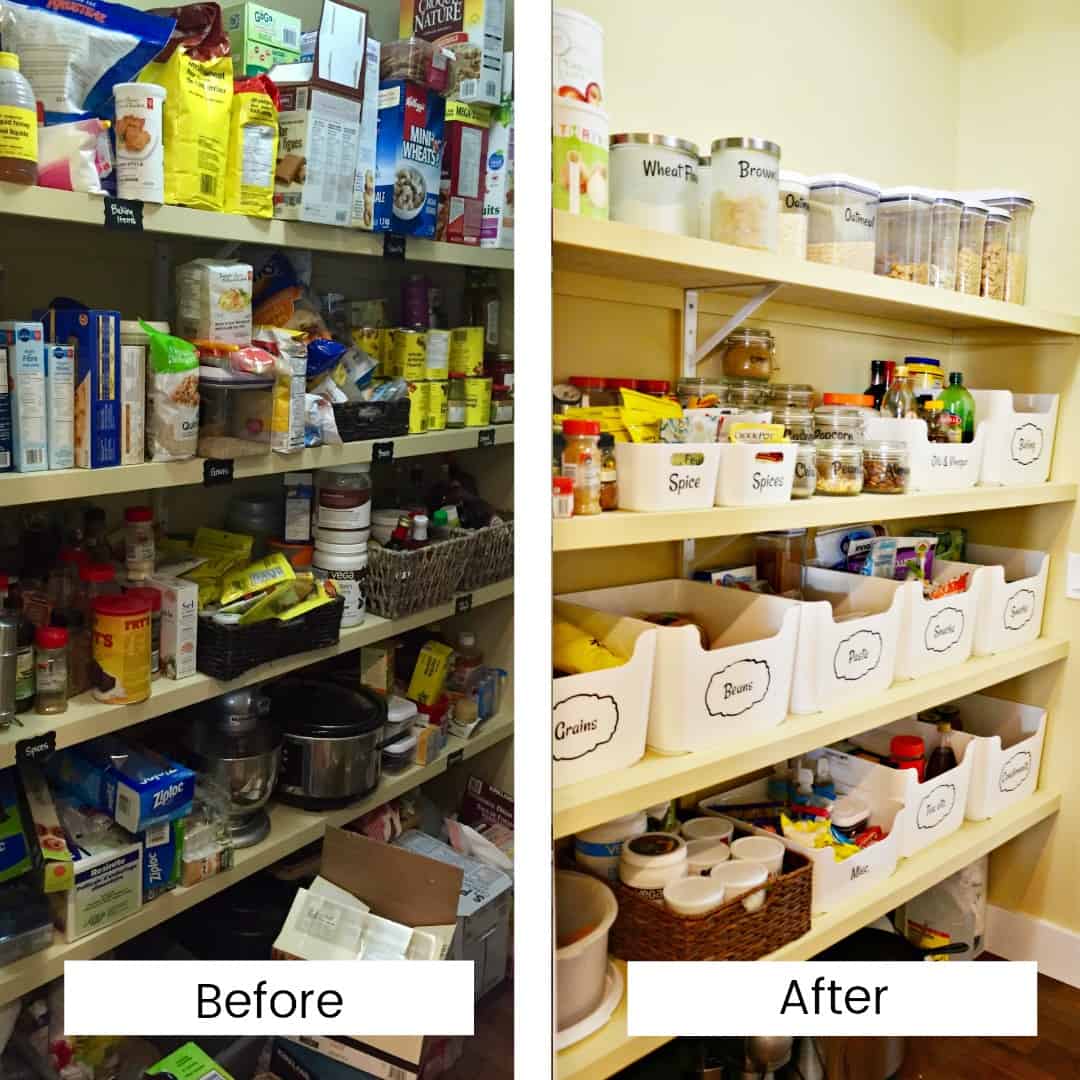
Ahh- an organized pantry, clutter is gone, containers aligned, expired products chucked! It’s so refreshing to see the pantry all neat and tidy with everything in its place. Flashback to 18 months ago, I was pregnant and nesting was in full swing (yes, nesting is a real thing!). I knew we’d have family visiting for the anticipated birth of our son and making my pantry so that anyone could find anything was one way I could get our house ready for the little bundle of joy.
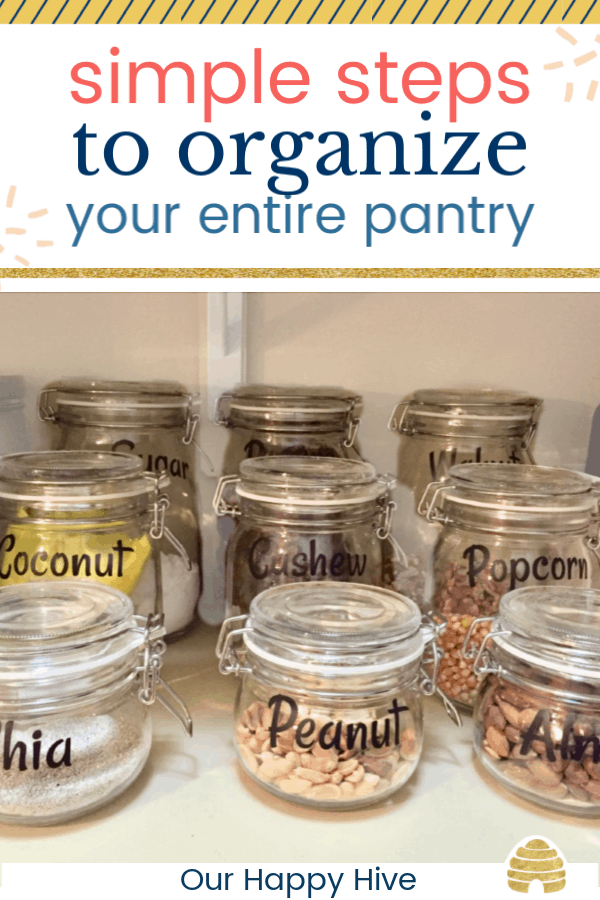
One day, due to a change of plans, my daughter and I found ourselves without any commitments. It was the perfect window I needed to tackle this project.
Step 1: Begin with the End in Mind
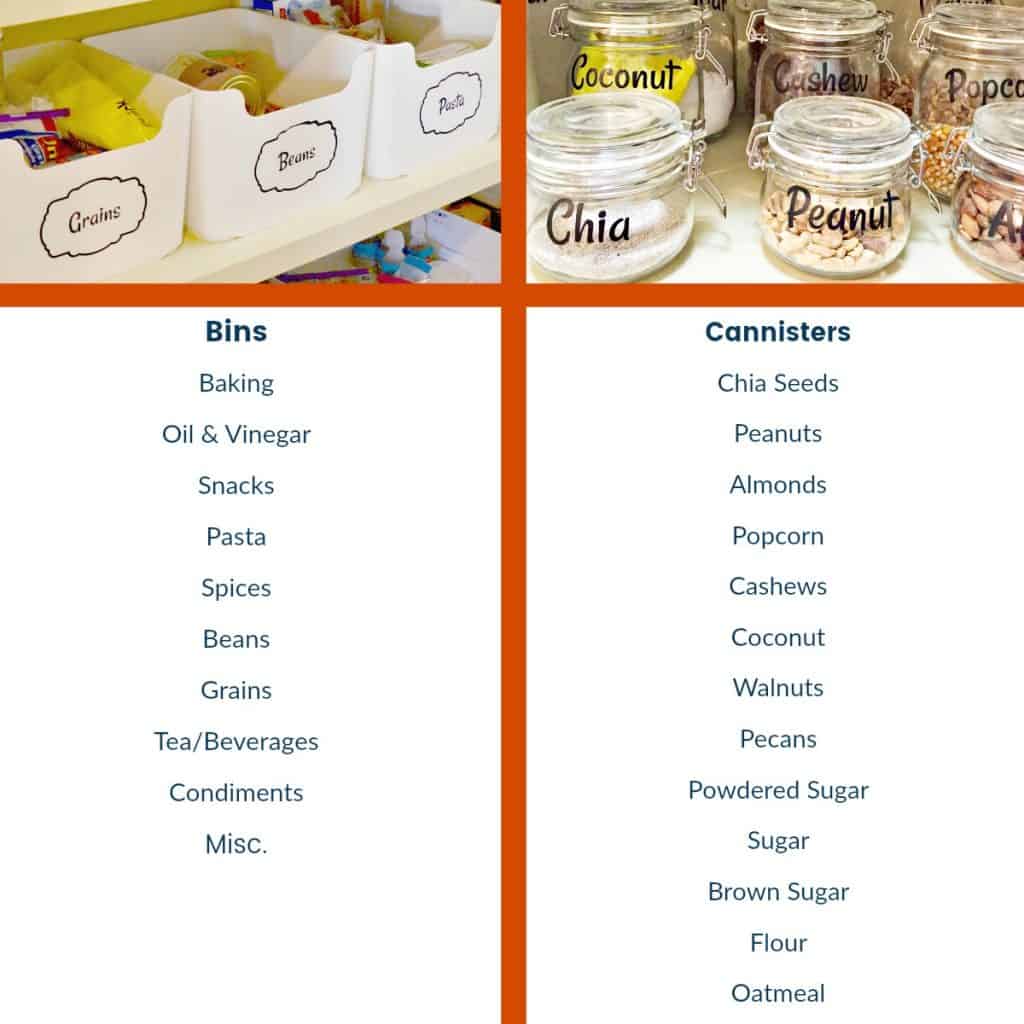
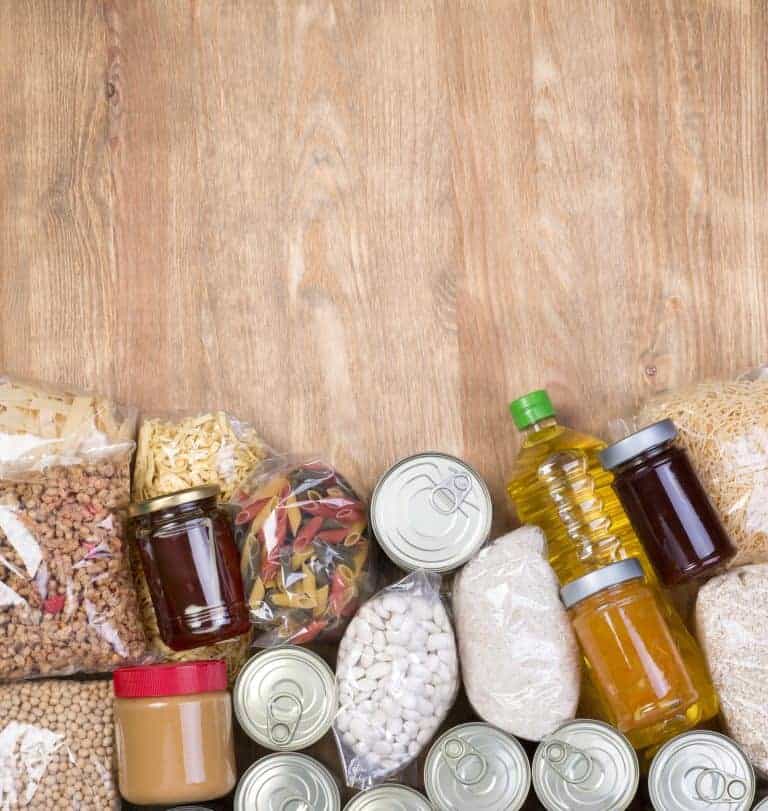
I like to create a map of how I’m ultimately going to organize a space, so I begin with the end in mind. I began by taking inventory of the types of products we have in our pantry and considered how they could be grouped. This resulted in a list of products that could be put in a rectangular bin and those that should be stored in a canister.
Step 2: Tossing Out
What?!? That jar couldn’t possibly say 2006!!! I’ve gotten married, moved to Canada and built a house since 2006… how is that chili seasoning still with us! Inevitably, there are expired products in your pantry. It’s kinda crazy how fast they accumulate even when you “just” cleaned out your pantry in the recent past.
In order to not get overwhelmed while organizing my pantry, I go one shelf at a time throwing out the expired items and sorting the rest into the above categories listed as the “bin list.” Side note: things will get worse before they get better! The mess in my pantry seemed to take over my kitchen for a few hours. Hang in there, stick with it, it will pay off!!!
Step 3: Measuring the Space
As you can see, we have an open pantry. It flows from our kitchen to our mudroom, so the doors are rarely closed. I wanted something that would be visually appealing and help the pantry to stay organized once the heavy lifting was done. Rectangular bins from Ikea were the answer. Check them out in the “Shop the Post” section below.
After checking online, I knew the dimensions of the bin and was able to continue the development of my pantry organization map. This step allows you to determine the maximum number of bins you can use. Based on your space, you may need to consolidate some of the groupings on your bin list or if you have plenty of space you can add more. We decided to have two snack bins…one that was more toddler-friendly and the other that was more adult focused.
Step 4: Shopping (my favorite part 😀)
My daughter and I made a trip to Ikea for all of the bins and canisters we needed. Thankfully, it was a one stop shop! Of course, you don’t have to buy all new containers. You can be thrifty and reuse glass jars from condiments for some items and gather baskets or other containers from around the house for other items. Personally, I like the uniform look of having the same bins and jars. If this is something you’re interested in but don’t have a budget for at the moment, you can buy a little here and there so that it doesn’t make a dent in your existing monthly budget.
Step 5: Labeling
I decided to use my Silhouette Cameo Machine and cut out my own labels. If you don’t have one, you can check out the links at the end of this post for free printable labels. Also, Etsy has a wide selection of pantry labels. Note: By far, this is what took the most time for me, making and applying the individual labels.
So, within a matter of one day, we were able to clean out and reorganize the pantry. It was super helpful when we had family in and I was out of pocket at the hospital (ahem, giving birth).
Staying On Top Of It
One of the best and most unexpected benefits of using the bins is that it made it super helpful when I recently cleaned out the pantry. I was able to take out a bin and sort through it, throwing away the expired items. Because of the bins, I could do one at a time or a few depending on how much time I had. It really took away the stress of trying to get it done all at once.
Another thing I’ve learned along the way is it’s helpful if I make little tweaks here and there. For example, I found these great OXO cereal boxes. Since my husband is a HUGE cereal fan, they were necessary to keep our top shelf tidy.
We’re planning on making another upgrade early in the new year. My husband, aka Mr. Carpenter Bee, is going to make a built-in spice rack on the opposite wall from the shelves. Keep an eye out in January for our Spice Rack update!
Other posts on the web for ideas on organizing your pantry
- https://www.makinghomebase.com/organized-pantry/ (free printable labels)
- https://www.thecreativityexchange.com/2016/03/free-printable-pantry-labels.html (free printable labels)

These are such good tips! I think it’s time to organise my pantry now 🙂
Thanks! Hope it goes well!!! 🙌
Your tips are on point! Please come organize my pantry. Mine is a disaster, so I am going to try your step.s
That would be fun! We could have coffee together while we organize! ☕️
I am loving those bins! Will definitely be heading to Ikea to check them out!
my pantry is definitely in need of some organization!! the tossing out is my favorite part
Great post! I always start strong and clean out the pantry, but never seem to get to the organizing part 😉
Wow, that before and after photo is very impressive. Some great tips in here. I’d love my pantry to be tidier so I’m going to be putting your tips into practice!
Love your first suggestion to begin with the end in mine. I get overwhelmed with the work it’s going to take, so maybe focusing on the end result will help that. I am label QUEEN, so maybe if I remember I get to label stuff, it’ll motivate me 😉
Yes! I totally agree with throwing things out!!
Love the end result! I just organized my pantry the other day, I didn’t get the bins and such yet, because i’m still trying to see what I want as my end result.
Your pantry is definitely organized, wow, what a difference. Looking forward to seeing that built-in spice rack and how to make one!
Nothing is better than getting organized! Love this!
This is super helpful and geared logically for the not so organized. Thanks
That look’s so great! I will definitely be applying these tips for my pantry!
Great ideas on how to get a pantry or just shelves in order. Containers are the key.
I love this idea and want to use some of your tips to help me organize my pantry. It is a complete mess right now and I think having bins to organize with would definitely ease my level of stress when cooking! Thanks!
OMG! These are really insanely easy tips! And the difference is amazing!! I definitely need to do this in my pantry!
I love the use of bins in the pantry and my label maker is my best friend. I label everything. 🙂
Wow so clean & organized! Great tips!
What awesome tips. I really need to organize my pantry. So thank you.
love the way you broke everything down in parts. Very easy to read and understand.