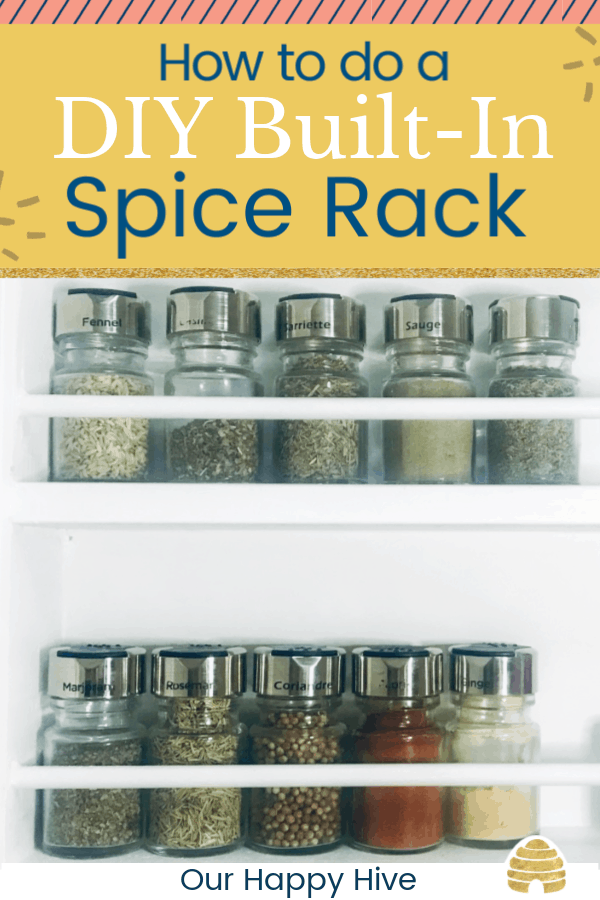
If you’re an avid cook, your spice selection can become unruly fairly quickly!!! Spice packaging comes in all shapes and sizes from plastic bags to glass bottles, even metal tins. Very few people have all of their spices in the same size/shape bottle so spice organization can be challenging. To be honest with you, over the past 10 years, I’ve tried numerous ways to organize my spices, but nothing really worked. The variety of shapes and heights combined with the need to be able to easily view all of the spice labels has been an insurmountable challenge… until now. My handy husband, a.k.a. carpenter bee, built me one simple yet ah-may-zing DIY Built-In Spice Rack. Read on to learn the supplies needed and steps required to do your own built-in spice rack!
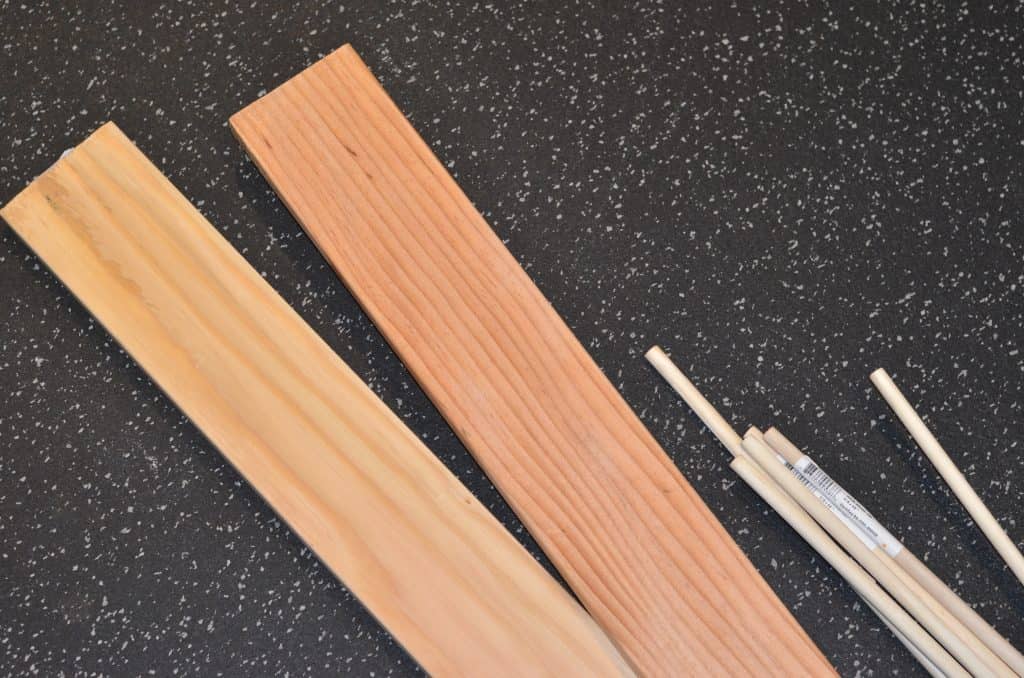
Supplies & Equipment Needed
| Supplies | Equipment |
| 1×4 Lumber – Box Construction
¼ inch Dowel Rods 1×4 MDF – Casing Wood Glue Pin Nails Screws Primer Paint Finishing Paint |
Nailgun
Drill Chop Saw Hand Saw Exacto Knife Stud finder Level Tape Measure Set Square |
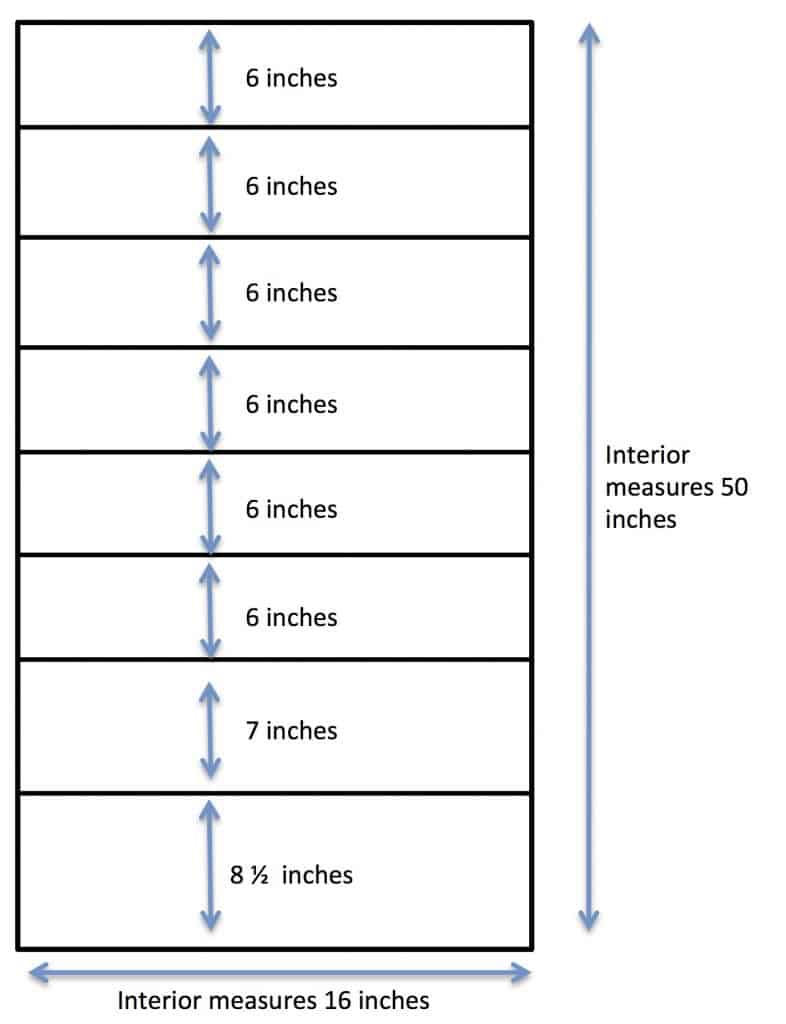
Step 1 – Determine the Location and Ideal Shelf Size
In order to do a built-in, you’ll need to find an empty wall in or near your pantry that’s suitable. When determining size, we found it easiest to work within the confines of the studs (typically 16 inches apart), which limited the width of the shelf. From there, we did an inventory of our existing spices.
How to Inventory Spice Bottles
- Group like bottles by height. I had some bottles that were 2 inches, 5 inches, and 8 inches.
- Based on the distance between your studs, determine how many bottles in each height category you can fit per shelf
- Decide how many shelves you want/need to fit your existing spices. If you anticipate growing your collection, then plan for additional shelves.
Once we inventoried the spices and decided on the ideal number of shelves, we were able to create our blueprint.
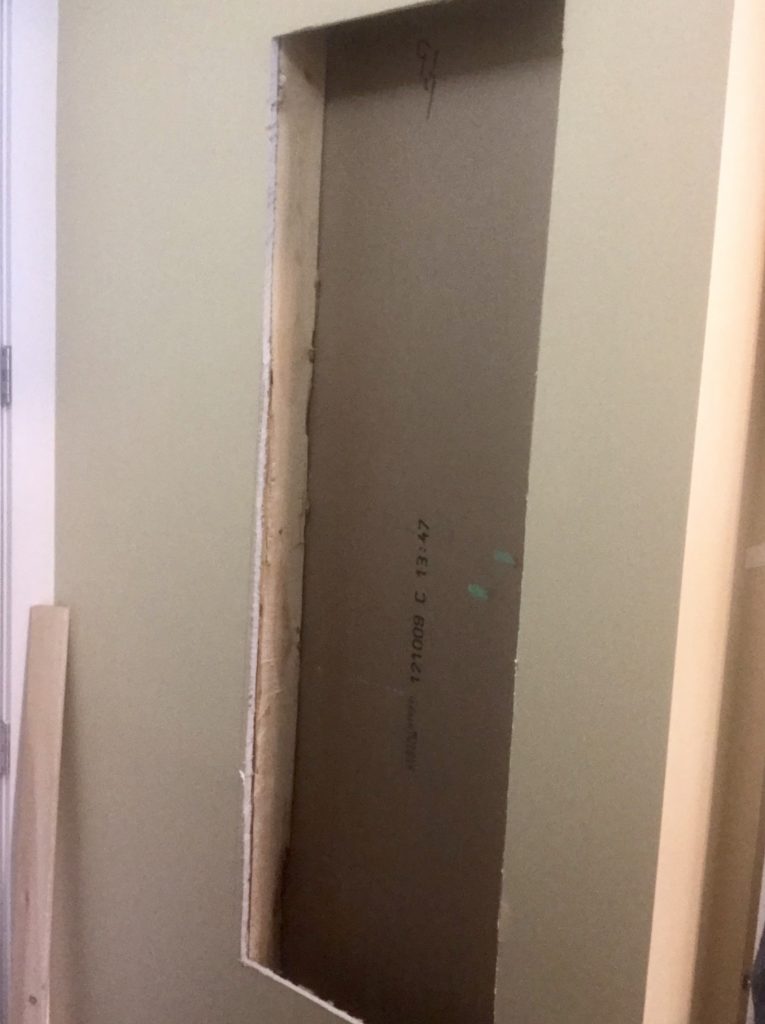
Step 2 – Cut out Drywall- Make Sure There are No Surprises
- Locate the studs, by either the traditional method or using a Stud Finder. If you need more information on how to do this, check out this post by Style Me Pretty https://www.stylemepretty.com/living/2012/12/01/how-to-find-a-wall-stud-without-a-stud-finder/
- Mark your height and width, be sure to use the level and tape measure for a precise marking
- Use your Exacto knife to cut out the box
Step 3 – Cut Frame and Assemble
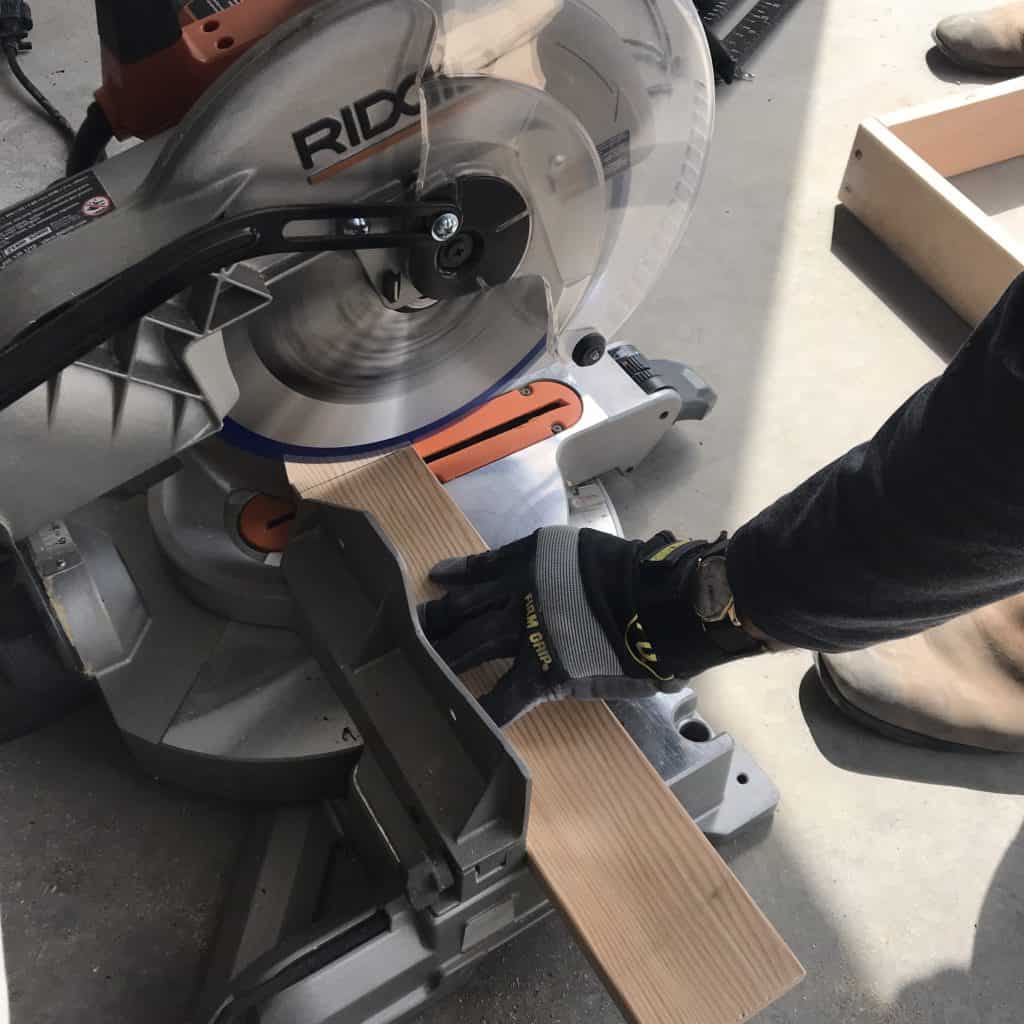
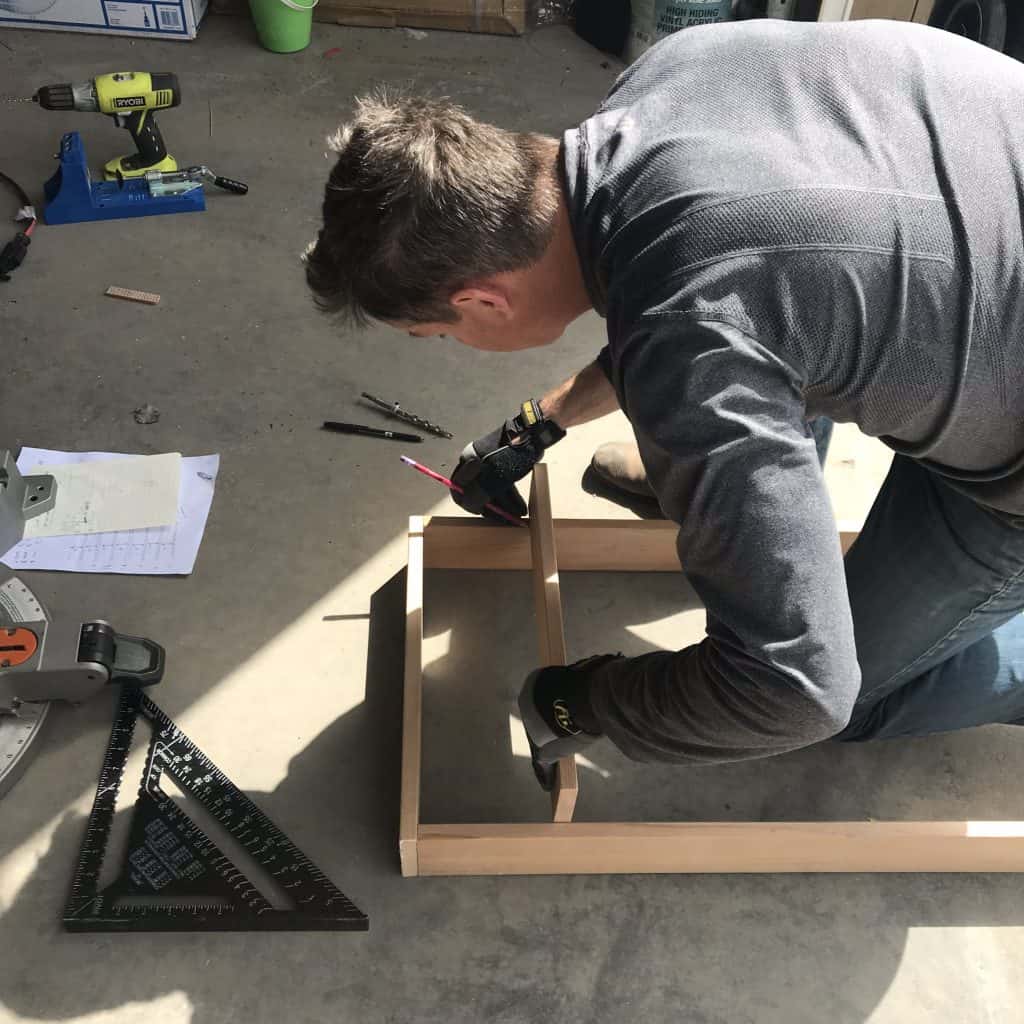
Based on the measurements specified in your blueprints, cut two boards for the length and two boards for the width. We used a chop saw to cut the boards. Lay out your boards according to design, square up, put in pilot holes, then drill in screws to assemble. Note: We considered using a Kreig Jig but determined it was unnecessary since the outside of the frame would be hidden in the wall.
Step 4 – Cut and Assemble Shelves
Next, cut your shelves to your pre-determined size. As a reminder, the shelves won’t be the full size of the opening; you’ll need to account for the lumber that forms the left and right sides of the frame. After you make the cuts for a shelf, test to make sure they fit into the frame and make any required adjustments if it doesn’t fit.
After you have all of your shelves cut, assemble once again by screwing in with the same method you used for assembling the frame.
Step 5 – Install Dowel Rods
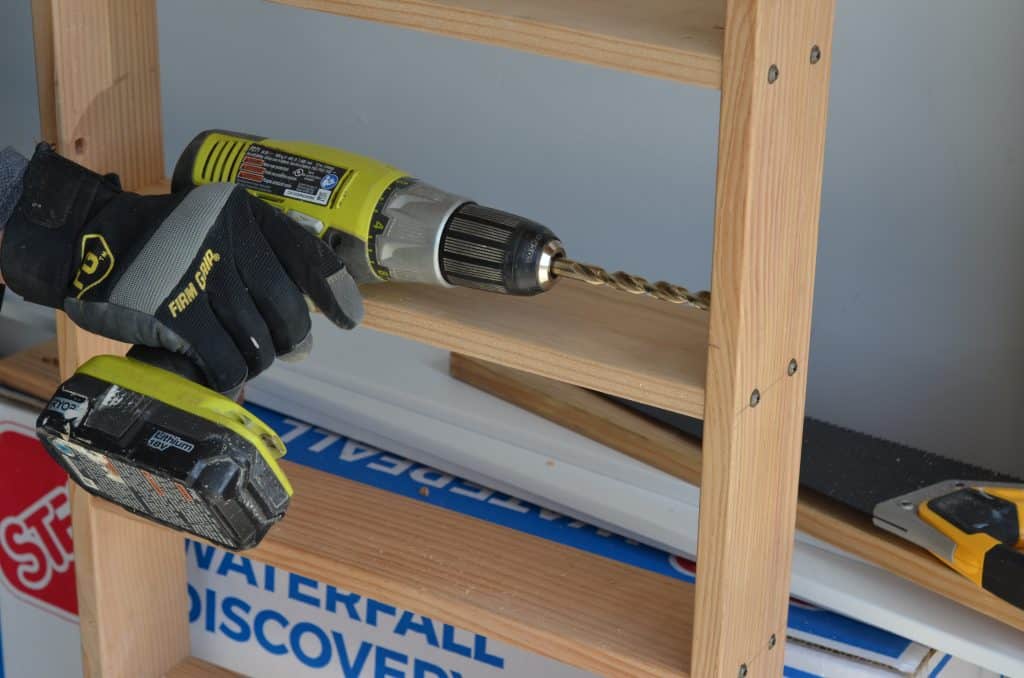
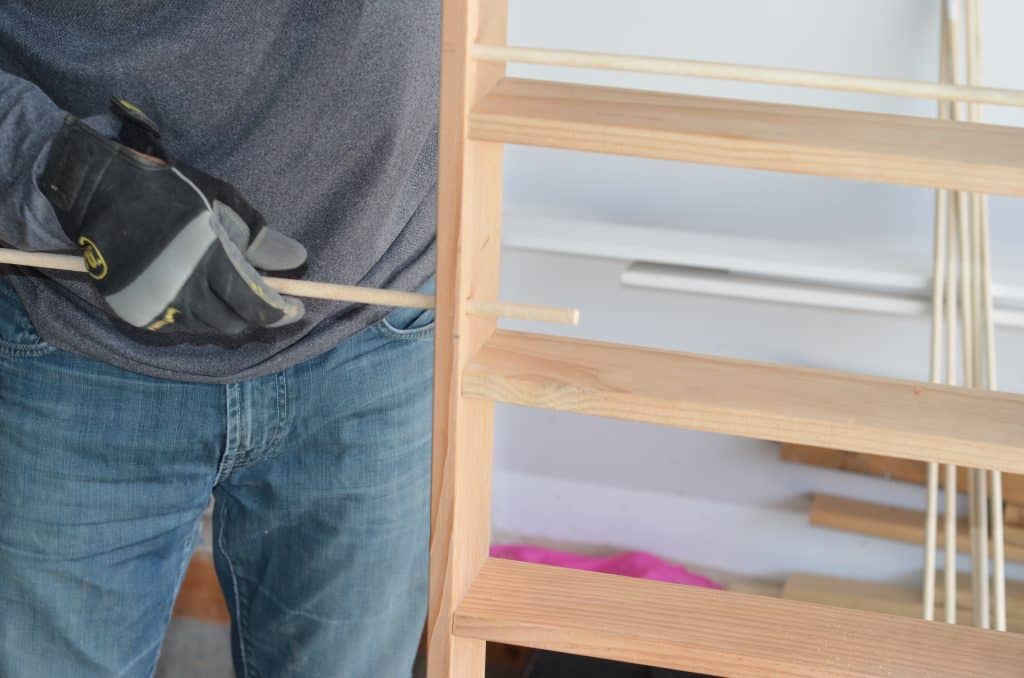
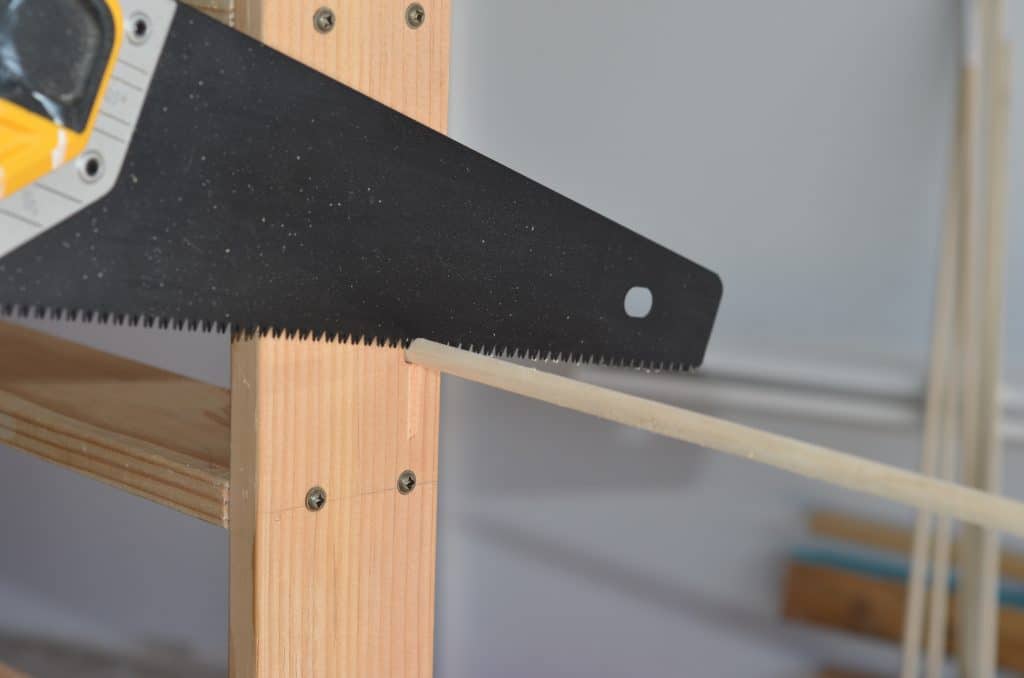
Cut your dowel rods according to the width of your box. Unlike the shelves, you will need to include the width of the lumber used for the left and right sides of the box. Using your drill, drill holes 2 inches above the shelf. Drill from the inside of the shelf towards the outside. Once the holes are cut for the shelf, insert the dowel rod. Finally, you can cut off the excess with your hand saw.
Step 6 – Insert Box into Drywall and Secure
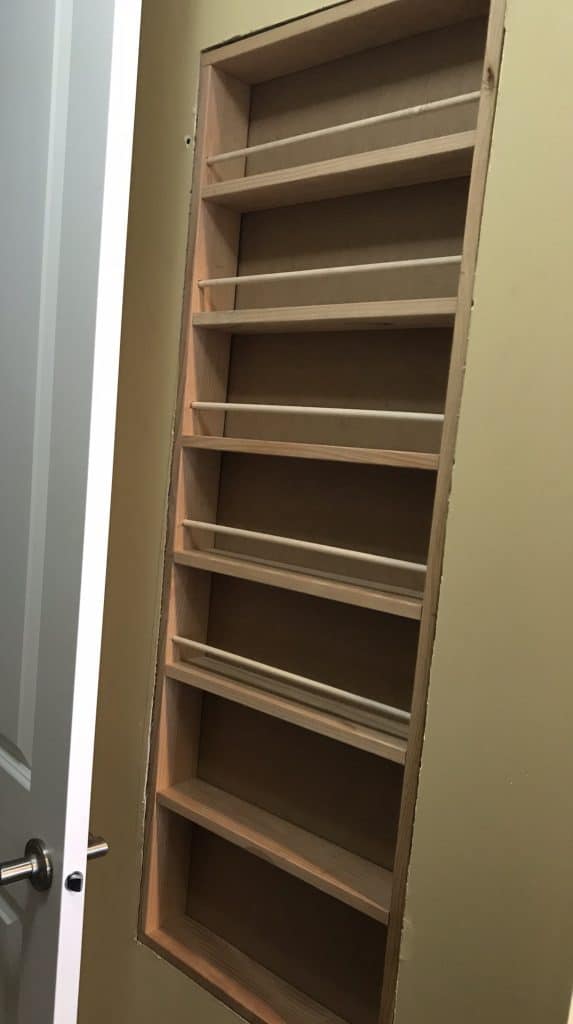
Shew, now that you have the heavy lifting done, it’s time for the finishing touches. Insert Box into drywall and secure. For the frame to rest on, we affixed a 2×4 to the studs at the base of the opening. The frame was also supported by nail glue and a tight fit between the studs.
Step 7 – Cut and Affix Casing
Cut the 1×4 MDF to frame the outside of your box. We chose to use mitered edges, but you can also cut straight across on your vertical pieces a have them butt up to the horizontal pieces. Apply nail glue to the back of the boards and using your nail gun, secure boards to the wall with pin nails. Once the glue has dried, putty and sand the holes to conceal. We used Drydex because it doesn’t shrink when it dries and is sandable.
Step 8 – Prime and Paint
Last, but not least, after you’ve sanded the holes it’s time to prime the Spice Rack. Use 2 coats of primer. Paint 1-2 coats with your chosen color finishing paint. Typically people choose a color that goes with the other woodwork in their home.
Final Thoughts
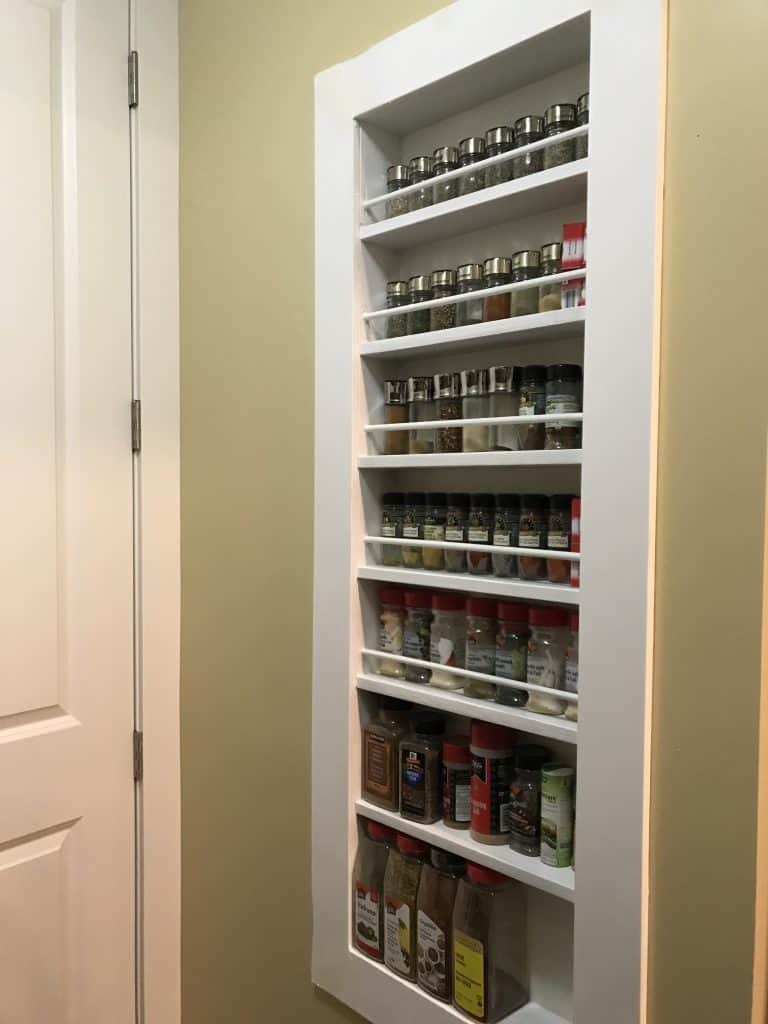
Now that we have the spice rack up, I love love love it! ❤️💛💙 I’m so grateful for Mr. Carpenter Bee!!! The DIY Built-In Rack fits all of my spices, I can see all of the labels, I have like bottles organized together, and I got back about 20 inches of shelving in my pantry that I can use for other goods. Another plus is that it optimized a dead space in our house that wasn’t being used for anything. My only regret is that I wish we would have done this sooner!
If you’re tired of trying cheap solutions that don’t work in the long run, maybe you’re ready to take on a DIY Built-in Spice Rack. If you don’t have the required tools, consider borrowing some from a neighbor or friend or renting tools from Home Depot. What’s holding you back! This is a project you can take on this weekend!

Want more ideas for your pantry? Click on the pics below to check out these other helpful posts!




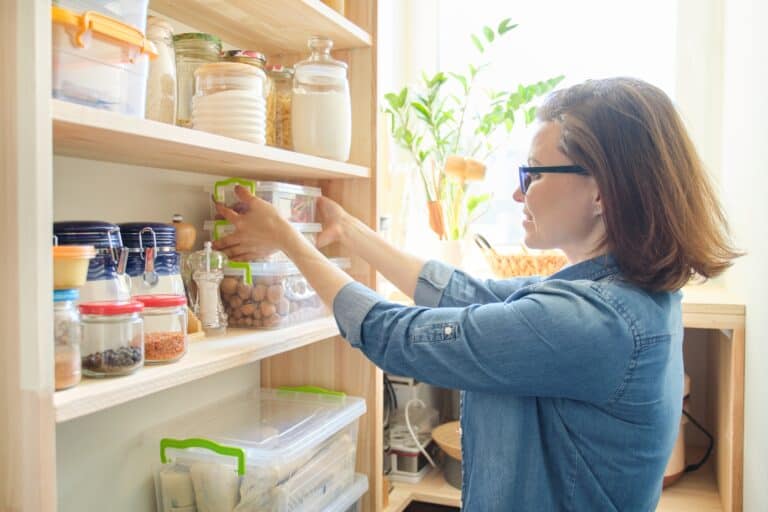


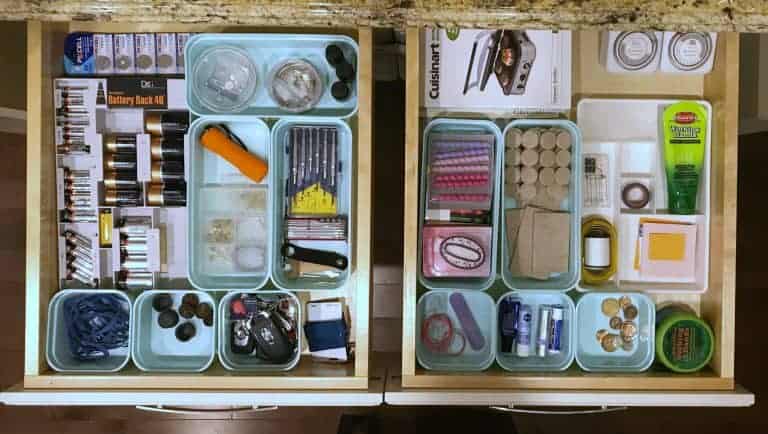
Thank you so much for this great storage idea. Your built-in spice rack looks beautiful. I like the way the dowels look but I’m wondering if they serve any purpose except in the event of an earthquake. Do you find that the dowels make it more difficult to take the spices in and out? I have seen some spice shelves that are completely open with no dowels. In retrospect, would you include the dowels if you built another shelf like this one? Thank you.
Hi- I haven’t been bothered at all by the dowels, but I’m also not sure that they are completely necessary. I guess when I’m moving fast, it provides reassurance that I won’t accidentally knock some spices down.
Your instructions say that studs are 16″ apart. They are actually 16″ on center, this means the center of the stud and adjacent studs are 16″ apart. This means between the studs is actually around 14 1/4″ inches apart. I know this because I build homes for a living. I do love the look of the built in spice rack.
Greg- Thanks for the feedback and clarification. Now you can see why my husband is the “Carpenter Bee” 😉 and not me! Will confirm with him and upstate the post. Best, Melissa
The spice rack is great. And I am excited to build for my wife. But when cutting the hole I noticed differences in the measurements you show.
I am wondering what did you do for the space difference in the back? You say to use 1″ x 4″ boards. They are usually 3/4″ x 3 1/2″ from any lumber yard. The stud inside the wall is the same 3 1/2″ and then you have usually 1/2″ sheetrock. If you line the outside of the rack with the sheetrock that will leave about a 1/2″ gap in the back. I know a 1/2″ is not a huge deal but will look off in my opinion.
Hi Gary- my husband applied an 1/8th of an inch masonite board to the back of the frame and set the whole frame in flush with the drywall. This conceals that 1/2 inch gap. Hope that helps! I’ll update the post to include that for future readers. Thanks!
Thanks… That is what I was thinking of doing as well. But my wife was saying it was not part of the instructions.