
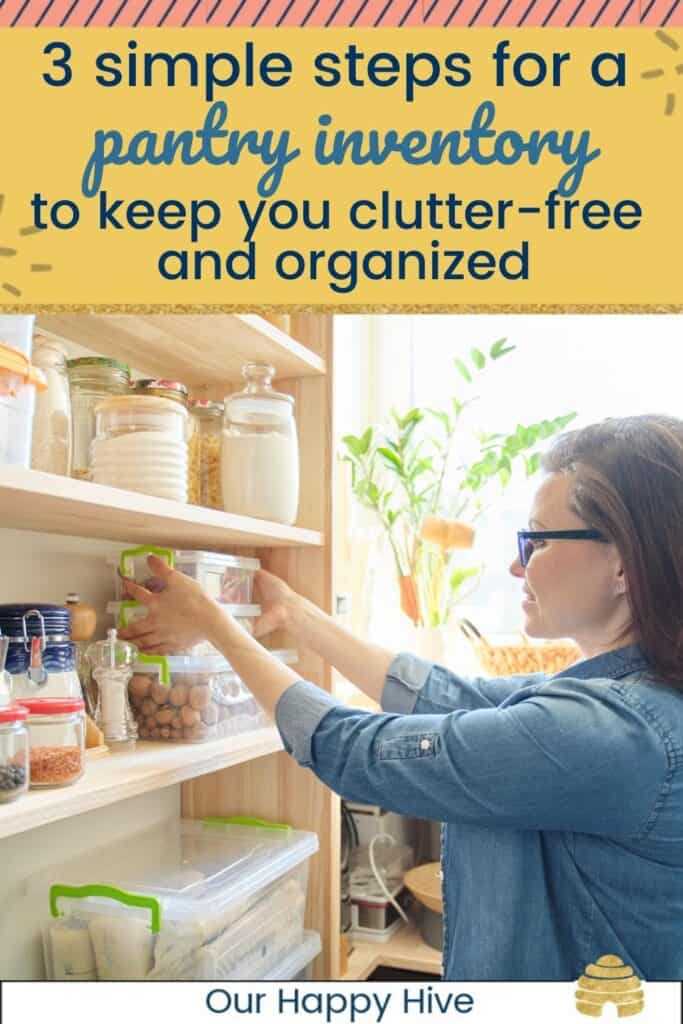
Inside: Save on grocery bills and reduce food waste by keeping track of the food you have on hand as well as the food you need to buy. I highly recommend creating a pantry inventory – here’s how.
When was the last time you pulled something out of your pantry only to find that it was (VERY) past its expiration date?
How often do you run out of ingredients that you thought you had on hand only to find out (too late) that you don’t? Or you bought something you thought you needed only to find two of them in there when you got home?
Trust me, every one of those scenarios has happened to me too!
When left to its own devices, your pantry can quickly become an area that sucks up your time and money and causes stress rather than the glorious storage area it’s meant to be.
How do you change that? Well, I’m happy to report that it’s easier than it may seem! With just a little bit of organization and a pantry inventory list, you’ll soon be well on your way to knowing exactly what food you have on hand and what you (actually) need to purchase!
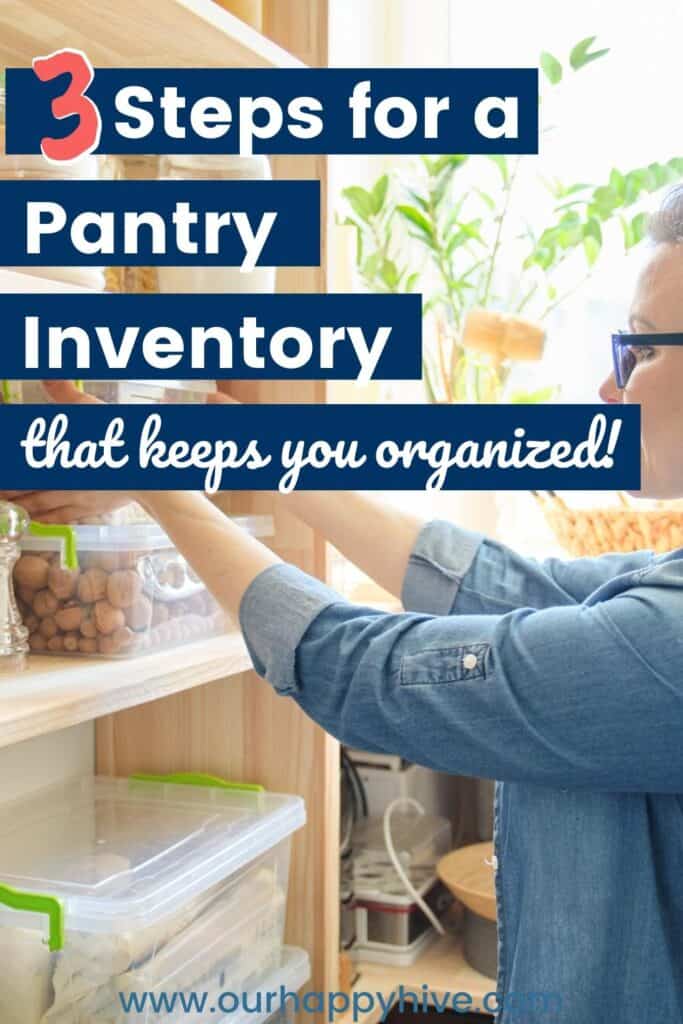
3 Steps To Getting (And Staying) Organized With A Pantry Inventory List
Do you know what you have in your pantry right now? If you (like many people) don’t, the good news is that you are not alone. The bad news…well, not knowing is costing you time, sanity, and money.
It’s time to change that with these 3 steps – they will change your life (sounds dramatic, but it’s true!).
Step 1: Clean Out Your Pantry With This Pantry Organization List
What is the pantry? Most people hear that word and think of a designated cabinet area in your kitchen that holds dry, shelf-stable items.
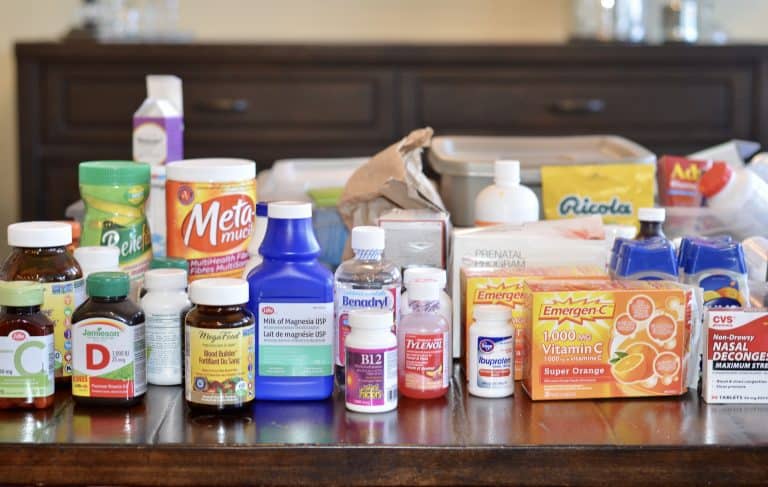
For this post, I’m using the word “pantry” to refer not only to cabinet space but also to any other space where you store food: the refrigerator and freezer. The process I’m showing you today works for cabinet items as well as cold and frozen foods!
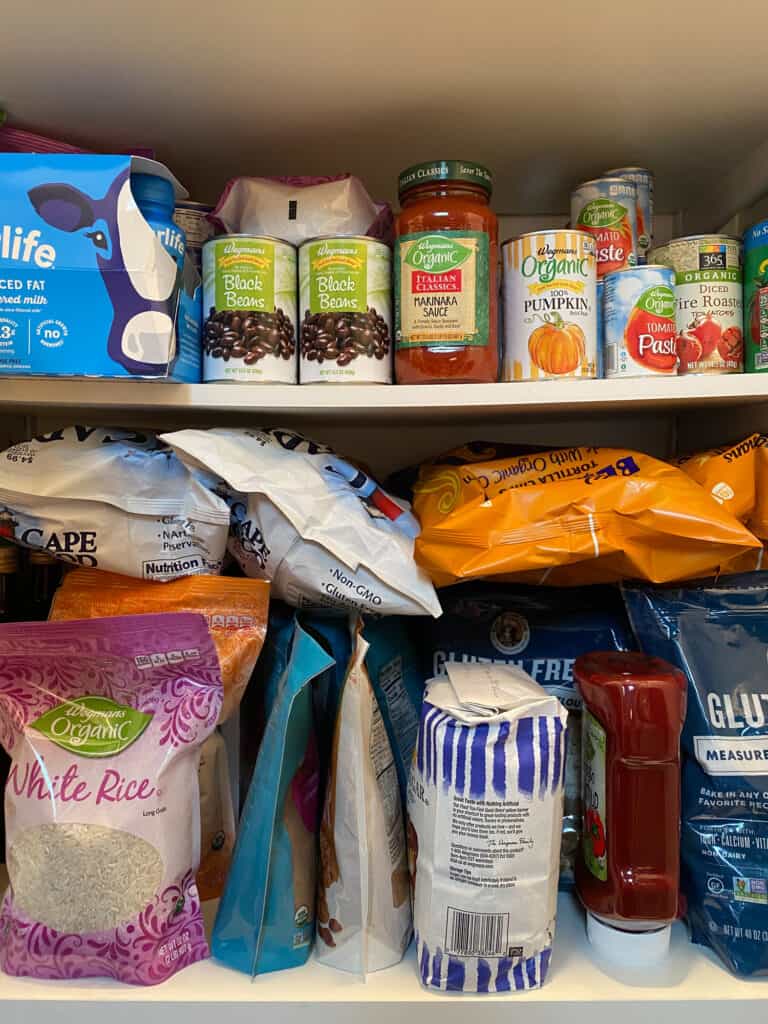
Clean Out Your Pantry
In order to be able to take stock of what you have in your pantry, you first need to clean it out. Pull out every single item you have in your pantry and put them into 3 categories:
- Keep
- Throw away
- Donate
Decluttering expert Marie Kondo suggests only keeping items that “spark joy”. I think this is a great general concept for the home. However, for the pantry, I suggest adjusting that to only keep food items that “you will use”.
For example, if you have boxes of regular dried pasta in your pantry but don’t eat pasta anymore (or only eat gluten-free), get rid of the dried pasta you won’t use. Why keep it in there taking up space?
As you clean out and sort your pantry items into the three categories above, be sure to throw out any:
- Expired items (here’s how to find out how long pantry food REALLY lasts)
- Rancid oils
- Old or rancid nuts
- Stale crackers, chips or bread
- Old spices that have lost their flavor
- Bottles or boxes that are essentially empty
Pro Tip: If you find two open containers of the same item (such as bags of the same kind of chips), try to combine them into one to save space and declutter.
Declutter Your Pantry
As you pull out your pantry items, let the answers to these questions help guide your decision about whether to keep the food or not:
- When was the last time you used this?
- Could you make a meal with this today?
- Do you enjoy eating this item?
- Will you use this before it expires?
Pro Tip: Donate any unexpired food that you won’t eat to your local food bank. FYI, food banks and other donation collections will not accept expired items.
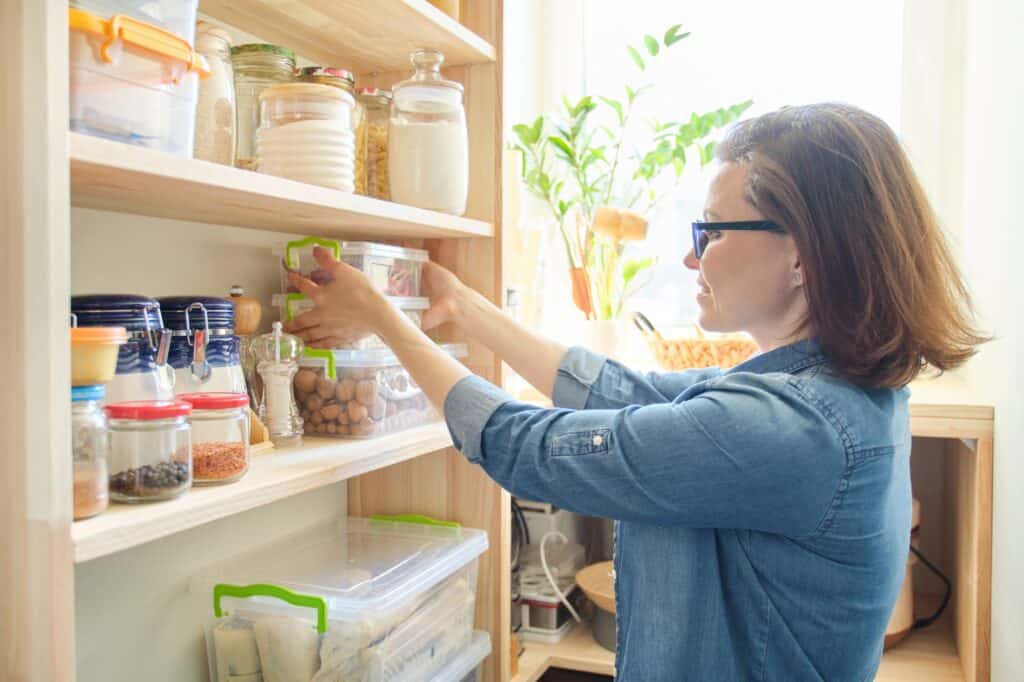
Step 2: Organize Pantry Items With A Pantry Inventory List
Whew – that was a huge step in the right direction!
Next, in order to help you stay organized and avoid going right back to that cluttered, disorganized pantry system you had before, it’s time to organize your pantry items.
I love this part of the process! This is where you get to create the organizational system that will make the biggest difference in knowing what items you have and what you don’t.
It will also help you find the items you need quickly so that you aren’t digging through to the back of the pantry wondering where the canned tomatoes are. 🙂
Create pantry “zones” to help you organize your pantry items and quickly find whatever you are looking for.
To do this, think about your family’s cooking and eating habits (after-school snacks, baking supplies, pasta, soups, etc) and designate an area for each category.

Examples Of Possible Pantry Zone Categories
*(adjust this list to fit your lifestyle)
- Breakfast items
- Snack items
- Pasta & grains
- Sauces and soups
- Baking items
- Canned goods (I like to break these up into categories: fruits, beans, veggies, etc)
- Beans
- Sweets
- Beverages
- Condiments
I have tried nearly every type of pantry inventory organization method there is, and the very best way that I have found to organize a pantry is to sort your items into zones as listed above and also use containers to keep things contained and neat.
This works especially well if you buy items in bulk.
For example, we buy our oatmeal in bulk, and without a container to put our oatmeal into, my pantry gets cluttered with bags of oatmeal that I need to sort through before using to make sure that I have some oatmeal and that what I’m grabbing IS the oatmeal.
Ideas Of Different Types Of Containers You Can Use
- Baskets
- Buckets
- Bins
- Canisters
- Cereal containers
- Glass jars
Important Tips Regarding Your Pantry Containers
- Use appropriate containers to help keep like items within your zones together while separating those zone items from items in a different zone.
- Mix and match types of containers to find a system that works best for you. A bin or a basket works well for “collections” of items: snacks, small boxes, cans, etc.
- Larger containers with lids (like cereal bins or canisters) work well for loose items like grains, pasta, flour, sugar, loose tea, nuts, etc.
- Maximize your storage space by creating solutions that utilize vertical storage rather than pushings things towards the back to get lost and forgotten about with horizontal storage.
Pro Tip: If you really want to stay organized for the long term, label each pantry category so that family members can easily follow the system and put things where they belong to help keep it organized.
It may take just a little bit of time to set up your system and then fine-tune it so that it works just the way you want it to.
Then, it simply becomes a matter of living by the phrase: “A Place for Everything and Everything in its Place”!
Related Post: 5 Insanely Easy Steps to an Organized Pantry
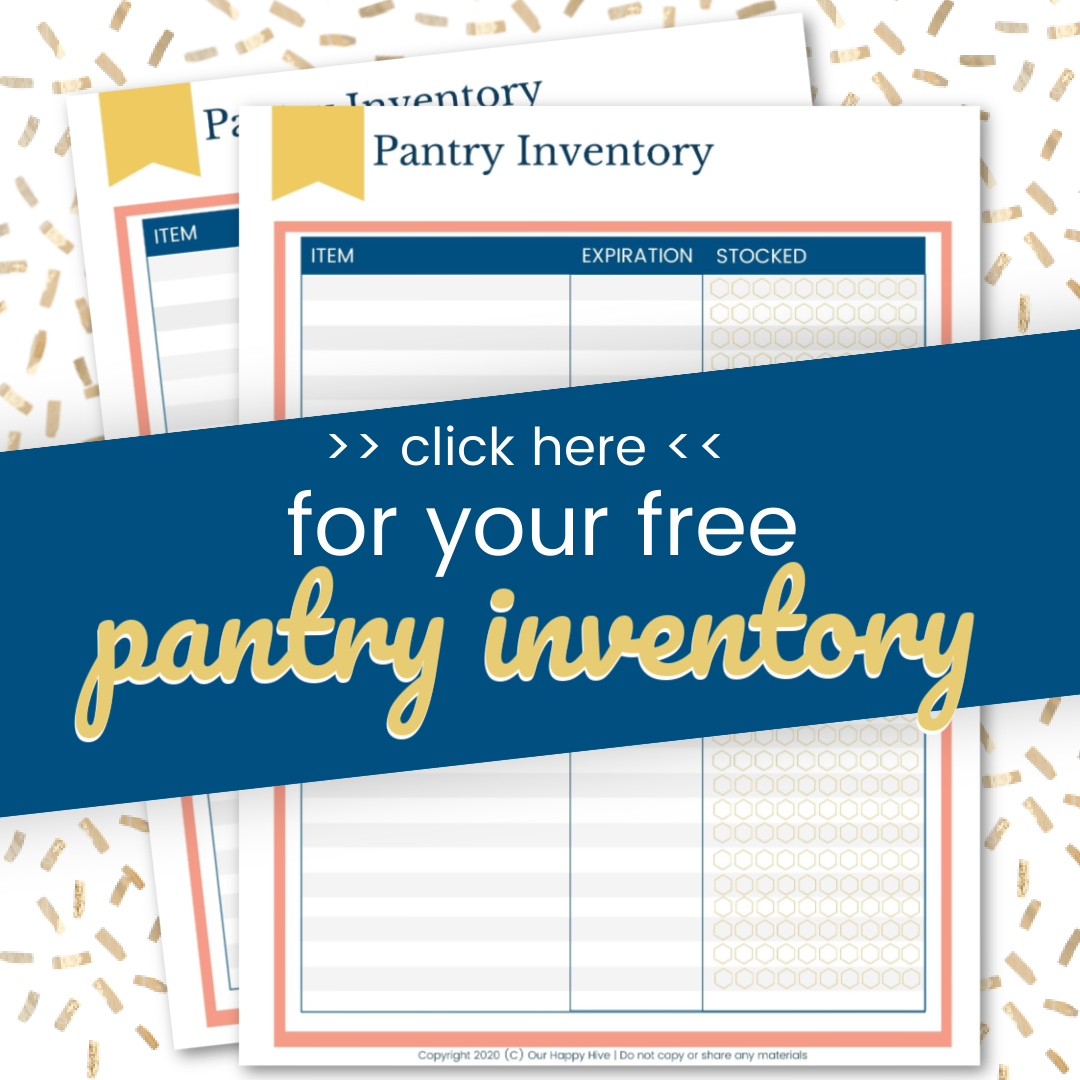
Step 3: Use My Pantry Inventory Printable To Take Keep Track Of What You Have & Stay Organized
The third and final step for getting your pantry inventory under control is to grab my pantry inventory printable and use it to keep track of every item in your pantry. I designed it to be used regularly to help you not lose (or have to throw out expired) food anymore!
To use it most effectively, write down every single item you have and how many of each item you have. Keep it close to the pantry – or even hanging or velcroed inside – so that when someone takes an item out, they can mark it down.
Pro Tip: I highly recommend laminating the pantry inventory printable after you print it out. Use dry erase (or wet-erase) markers on it so that you don’t have to keep printing out new copies.
Final Thought
There you go! I hope these 3 simple steps help you get your pantry organization under control and eliminate your pantry inventory problem. Cleaning out your pantry will help you eliminate food waste and avoid spending money that you don’t need to.
Using a pantry inventory list will help you save time and feel like you really “have it together”(and who doesn’t want to feel that way?)!


I love the ideas that I have read here in the pantry organization section. I plan on using all these ideas in my pantry cleanup. Thankyou for this advice.