Seven years ago I started working from home. I worked for a company in Houston, but after marrying a Canadian, my company allowed me to work remotely. As a “Welcome to Canada” present, my husband bought me a lovely desk. He had a framed picture from our wedding sitting on it and a comfortable chair next to it. I had a space to focus, get organized, and be productive.
We shared the office, but it was still a dedicated space for the two of us. Since then, we have moved from an apartment to a house and we have a room that is a dedicated office. I’ve painted, designed and organized it to be comfortable and functional. The other side of the coin is that we’ve accumulated a lot more things that need to go in this space including materials for two businesses, birth certificates and passports, and important documents like immigration papers. Keeping our office functional and decluttered is a necessity.
This post may contain affiliate links. For more information, please read my Affiliates Disclosure.
The Rise of the Home Office
Home office space was once considered a luxury but is becoming more and more common. Some families have a guest room they’ve converted into an office while others have a nook that’s dedicated as their home’s command center. Family management needs to be combined with the ever-increasing popularity of working from home. Keep reading for some easy and clever ways to organize your home office without the clutter!
Step 1- Start with Discarding
Sort through your office items…paper, books, pens etc. Get rid of the things that you no longer use or don’t want. Marie Kondo says to get rid of anything that doesn’t inspire joy including unread books and old bills, warranties, or statements. If you have markers that have dried out, pens that no longer work, or a broken stapler, make sure to get rid of those items before trying to organize.
Tools that Make Discarding Easier
There are a couple of tools you may want for your office to help as you discard and with ongoing maintenance.
- A scanner can be used to help minimize paper clutter. It can be used for receipts that you need to keep for your taxes or documents the government sends you like your property tax assessment etc. Most bills are found online, so it’s not worth taking the time to scan. Any papers you are hesitant to discard because you think you might need them in the future are worth scanning.
- A shredder is another must have tool for your office. As you get rid of old bills or statements, be sure to shred them to protect your privacy!
Step 2 – Work on Your Storage
Now that you’ve minimized the stuff for your office, let’s move on to one of my favorite steps – storage solutions. I love baskets, boxes, and decorative ways to store things. These items are key to keeping clutter out of your office. If everything in your office has a “home” it is less likely that it will end up as clutter on top of your desk or counter.
The key is to make sure things are easily accessible. Many organizers prefer clear boxes so that you can see what’s inside of them. I like clear boxes if they are hidden in a cabinet or closet, but not on display on a bookshelf.
Here are a few of my favorite ways to store things in my office.
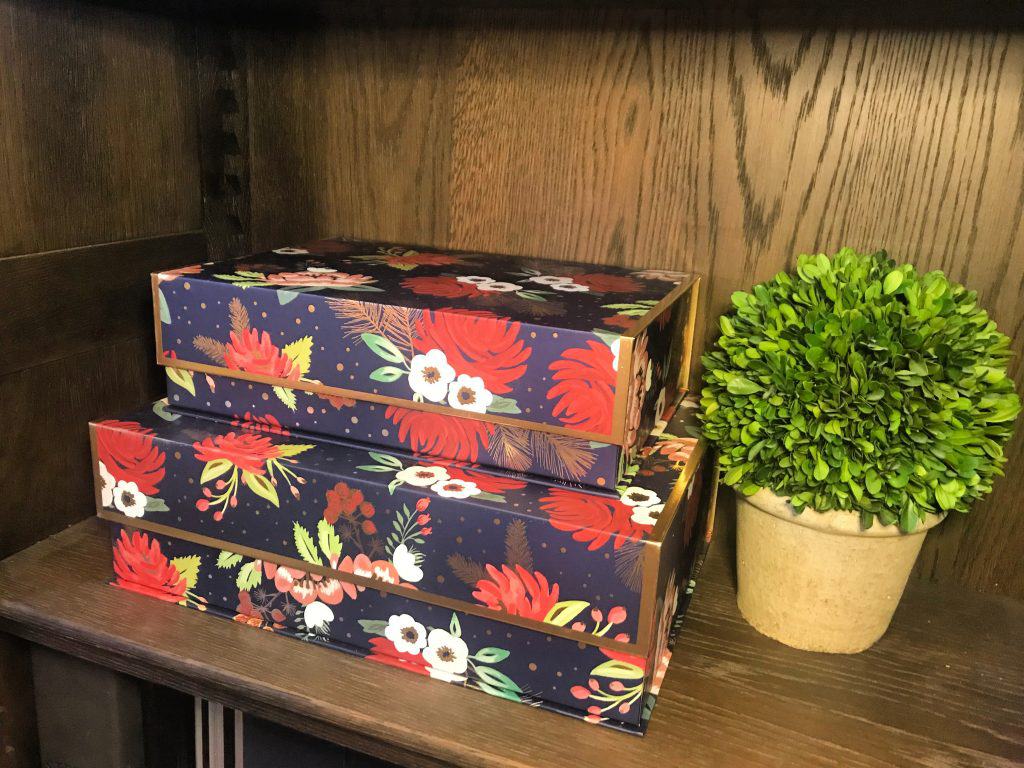
Pretty Boxes to be Displayed
I love these beautiful boxes. They conceal items I need access to and bring a bright a variety of color into my office. Office boxes come in all different sizes and colors. If you prefer a solid or muted color, check out what Ikea has to offer.
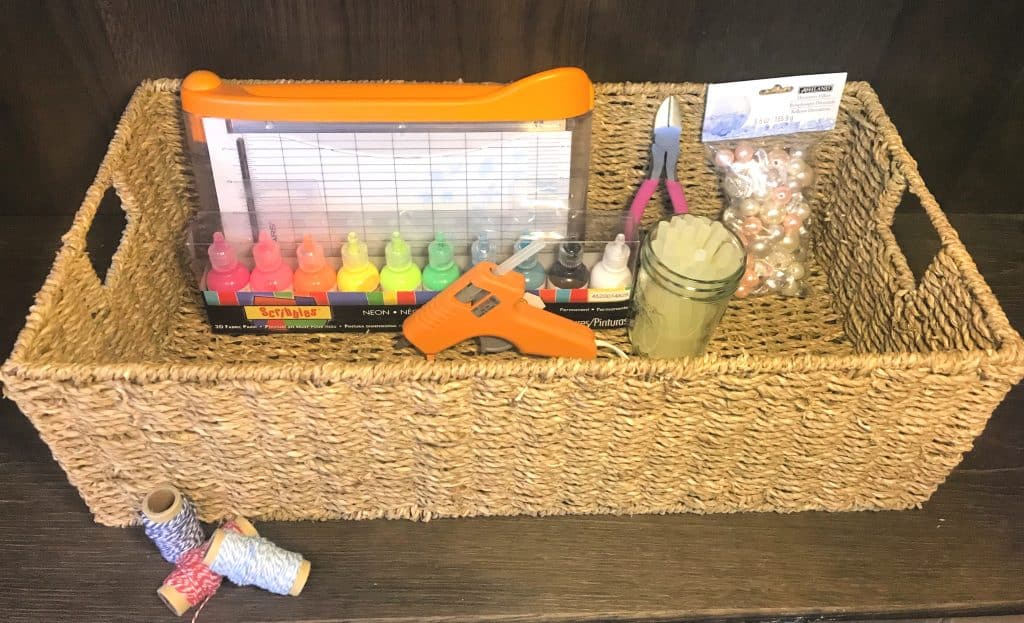
Baskets
Natural fibers can bring an organic feel and texture to any space. Baskets can be great for arts and craft supplies, pens, or dividers inside of your desk drawers.
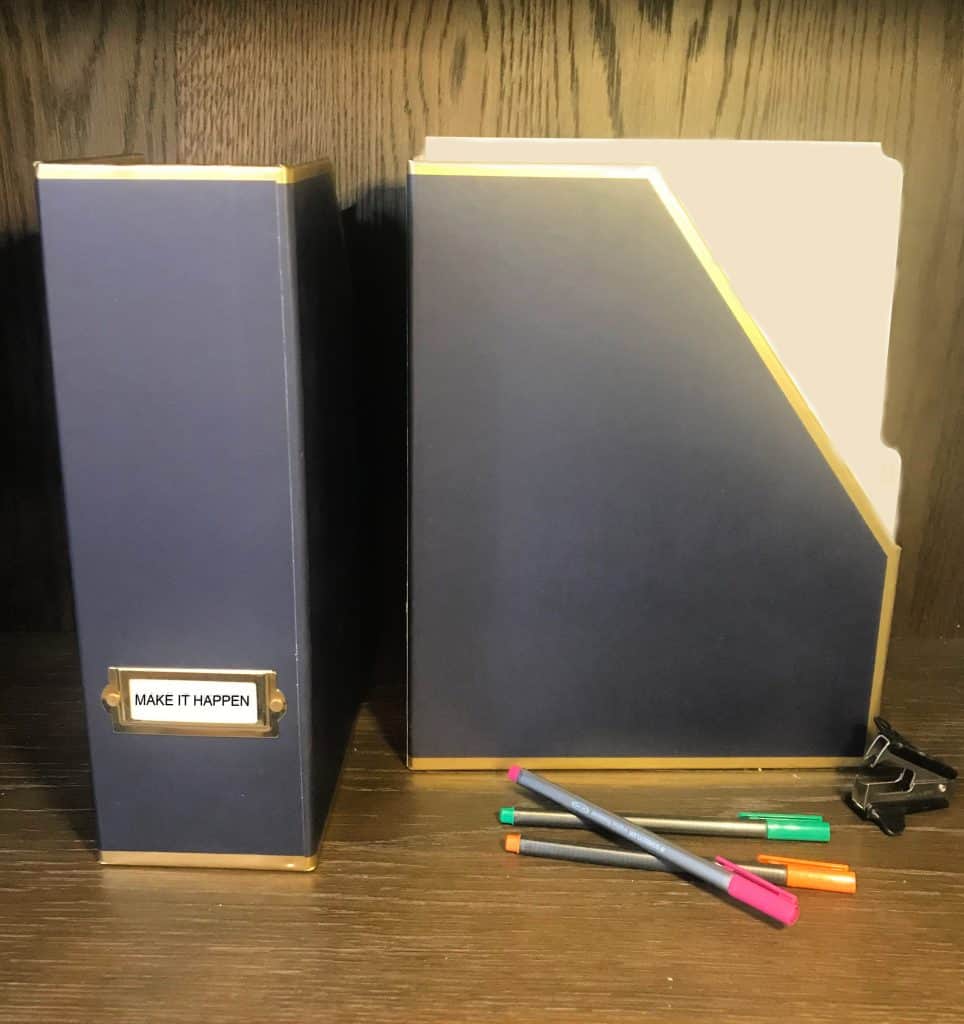
Magazine Files
Any office supply store sells magazine files. You can find simple black plastic or gold wire files. I loved these navy magazine files that coordinated with my boxes.
Storage solutions can be a way to beautify your space, reduce office clutter, and give a nod to your personal style.
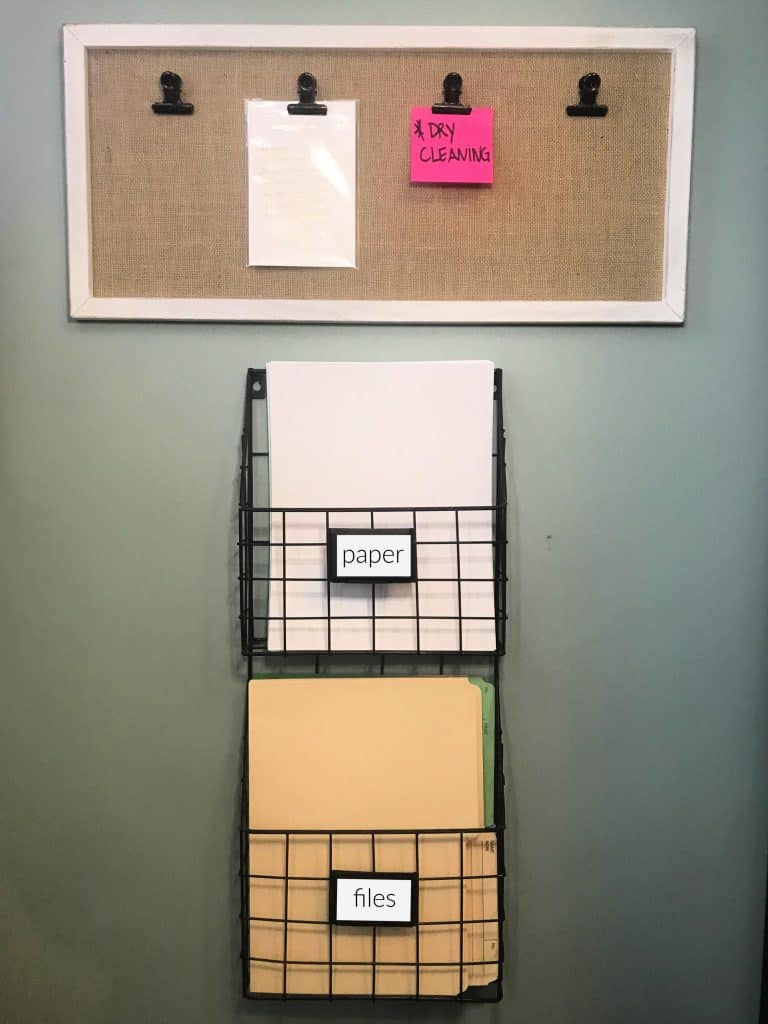
Step 3 – Go Vertical
Wall space can be very practical for your home office, nook or command center. It can be a place to make regularly used items like paper for your printer easily accessible. Many families also like to have dry erase boards in their home management space. We have a dry erase calendar in our mudroom to keep track of important events each week and I have an adhesive backed dry erase paper I’ve attached to a curved wall in my office. This is a great temporary solution if you want to remove it someday!
Step 4 – Start Organizing
Now that you have decluttered and secured containers for storage, begin to organize. A few practical tips include:
- Keep all like items together e.g. all pens should be in one place instead of multiple locations in your office area
- File vertically where possible. Instead of making piles where you can’t see what’s on the bottom, organize your books, papers, and notepads where you can see the spine and you can see all of your items at once.
- Bundle cords so that they aren’t tangled
- Label cords so that you know what they belong to
Step 5- Make it Yours!
You’ve decluttered, found storage items, and organized your office. Don’t forget to make it your space. Personalize it so that you enjoy using it. Lighting, whether it’s a lamp or ceiling fixture is said the be the jewelry of a home. It’s an accessory you can use to beautify a space and have it reflect your personal style. Artwork can do the same thing. A simple picture on the wall or something abstract can bring color and life to a space. Painting the walls is a more involved touch, but it’s inexpensive and can bring a dramatic change. Last but not least, include family pictures to surround yourself with the people you love!
It can be fun to get your family organized, to have a command center for your home, and to work from home. Having a clutter-free space that is beautiful and functional is made easy with a few simple steps. All you have to do is discard, figure out storage solutions, organize, and beautify and voila!