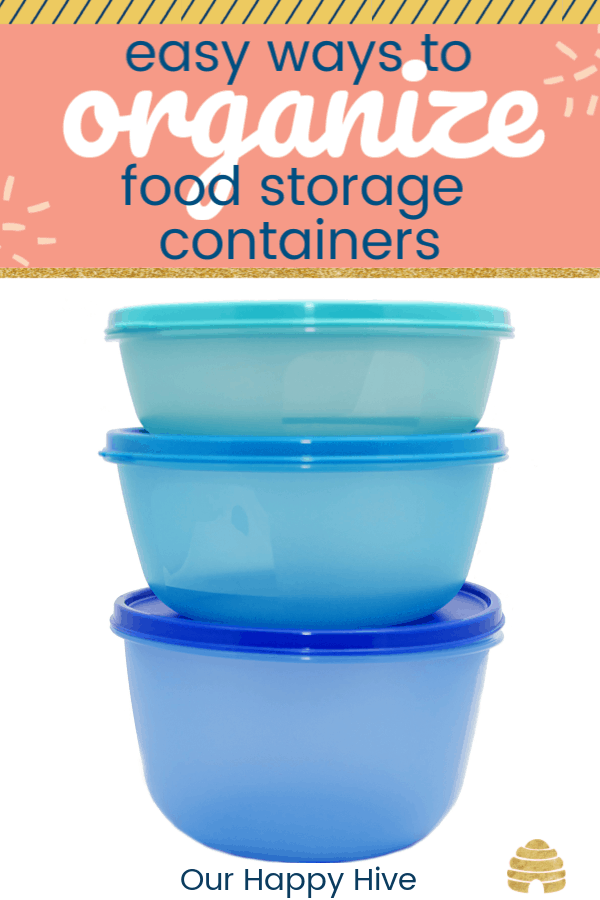
It’s inevitable that when you have a family, you become a magnet for food storage containers. Maybe you’re a Tupperware fan, take-out junkie, or glass storage convert. Regardless of the make and model, you unsurprisingly have a wide selection of different sizes and shapes of containers to take to school, baseball practice, or work. This plethora of dishes easily become a disorganized and cluttered mess creating anarchy in your drawer or cabinets. This little corner of your kitchen is usually frequently accessed but often overlooked. Let’s stop that! Let’s start a movement to end the chaos and organize your food storage containers today!!!
Here’s the good news: this is a super easy project that doesn’t take much time or money! I know this is music to your ears if you’re stretched and don’t have a lot of excess. It also helps to simplify things so that you can find your storage dishes faster and with more ease! Read on for a few things you should consider, as well as steps to organize your food storage containers today!
Consider Your Needs
First things first, let’s consider your storage space. Is it big or small…tall or wide? You’ll need a different storage solution for different spaces. If it’s a drawer, you may need a box to store lids, or dividers to separate different sizes. If it’s a cabinet, you may want to stack shelves so that you can maximize the vertical space. A little later in this post, we’ll review a few different storage options and I’ll highlight if they would be best for a drawer or cabinet.
Space Matters
Next, you’ll want to take into consideration the amount of Tupperware, plastic or glass food storage containers you have. If you have a ton, make sure you’ve allotted enough space in your kitchen for your collection. You could also consider if you need to get rid of some. If you’re leaning towards pairing down your stash, assess if you have all of the lids and if any containers are cracked or chipped etc. Maybe you have some that have never been used. Any that fall into these categories (broken, missing parts, or never used) you should recycle.
Continue Decluttering
Now that you’ve sorted through your food storage containers, what else have you stashed in that cabinet or drawer? Are there items currently stored there that should have another home? When I was organizing mine, I found that it had become the land of misfit kitchen parts. Some of the items were still in their original packaging and never opened. I created a recycle pile and a give away pile. You may choose to do the same.
Clean It Up
The final step before organizing is to clean your space. Over time crumbs, dust, etc. can get into drawers and on shelves. So, before setting up your new storage solution, make sure you spray and wipe down your surfaces.
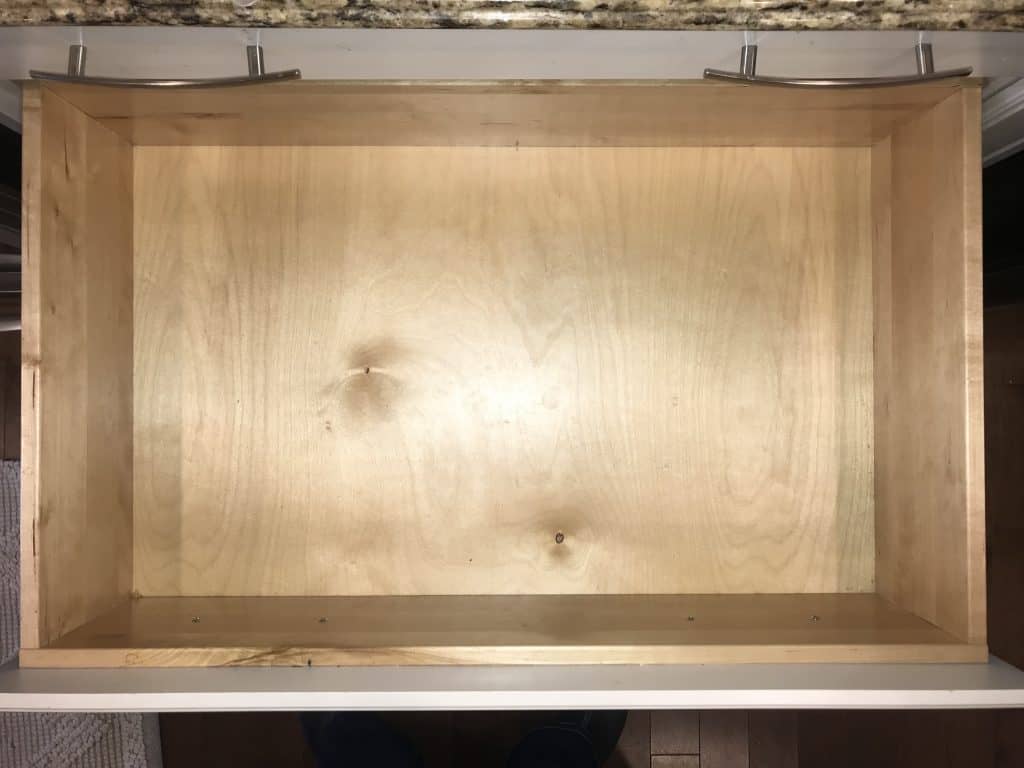
You’ve Got Options!
There are so many storage options available nowadays…it’s awesome!… if you’re an organizer geek like me! There are boxes, shelves, dividers, and even plastic bins designed for a specific brand. Check out a few below that I found at Bed Bath & Beyond, all of which were relatively inexpensive options. Most of these could also be found at Target, Wal-Mart, Amazon, or The Dollar Store.
Factors
Factors to consider when selecting your option:
- Size – Are your lids big or small? If you have a variety, what size are the majority of your lids?
- Shape – Are your lids square, rectangle, or circle. Do they have flaps that snap (often used in glass containers)?
- Nesting – Do your food storage containers stack/nest inside on another?
Keep reading to learn more about the pros and the cons of different storage options.
Dish Rack / Divider
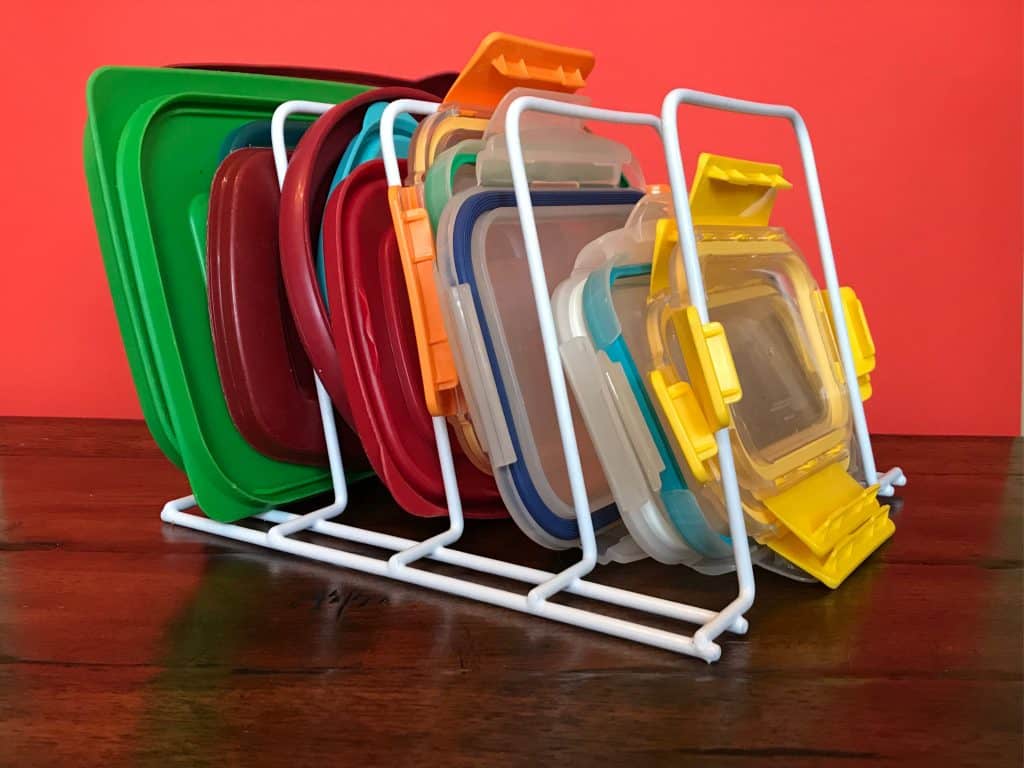
A dish rack/divider like this one is
Pros:
+ Best for a drawer
+ Best for medium to large lids
+ Great for sorting lids into like categories
+ Helpful in keeping lids upright even when some are in use and the section isn’t fully loaded
+ Ideal if all of your lids are the same make/model
Cons:
– Does not work with smaller lids
– Not great for lids with tabs (often used for glass storage containers)
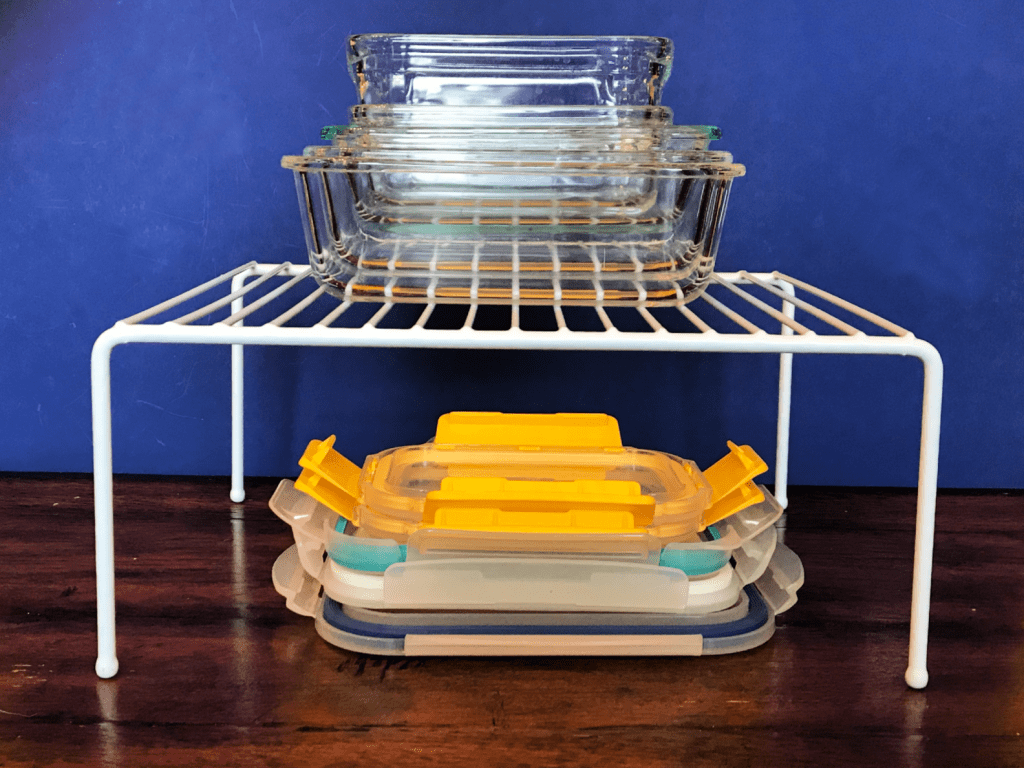
Wire Shelf
Pros:
+ Ideal for an upper cabinet
+ Optimizes vertical space allowing you to keep the food storage containers on top and the lids below
+ Can work for all size lids
Cons:
– Not a great fit for lower cabinets that are deeper because the shelf would either be pushed to the back making it difficult to reach or in the front blocking the things in the back.
– Not a good option for a drawer
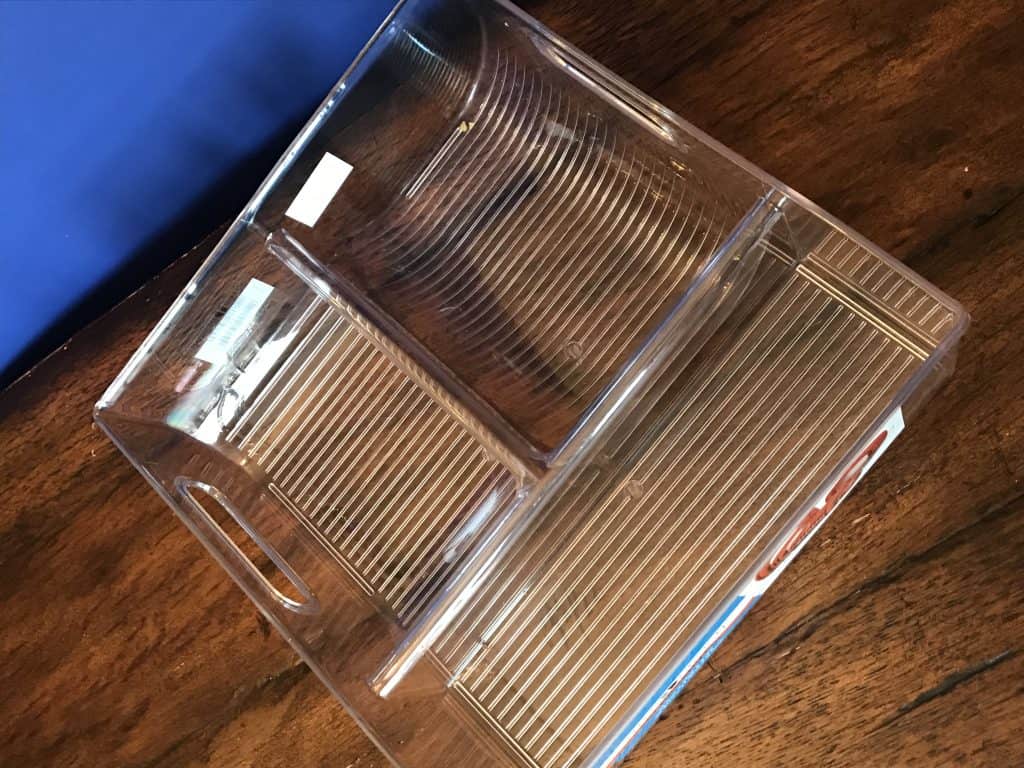
Clear Plastic Bin
Pros:
+ Could be good for either a cabinet or drawer
+ Ideal if your brand of lids fits in the space
+ Great for small lids
Cons:
– Not all brands fit
– Large lids did not fit well
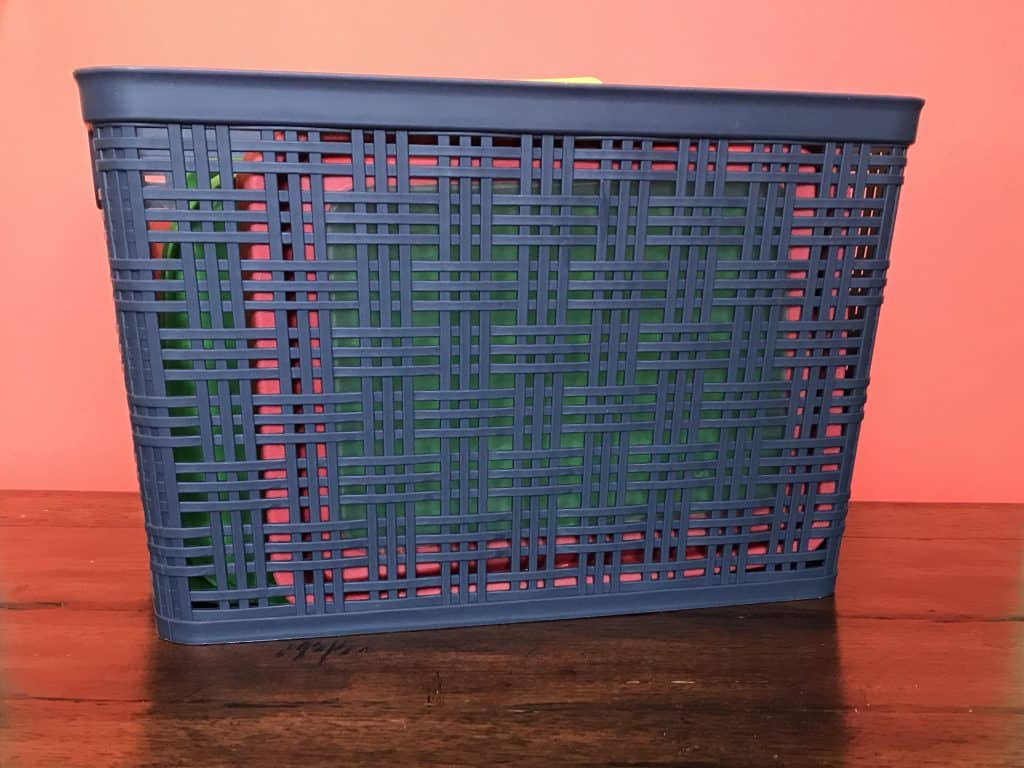
Basket / Bin
Pros:
+ Could be good for either a cabinet or drawer
+ Accommodates a wide variety of lid sizes
Cons:
– Takes up more space than other options
These are just four solutions that I found on my quick trip to the store. You may come across other ideas. I know there are many out there! Consider not only commercial products but other things you might have on hand. You could use cutting boards as dividers in a drawer as an example, or an old plastic box for your bin instead of purchasing a new one.
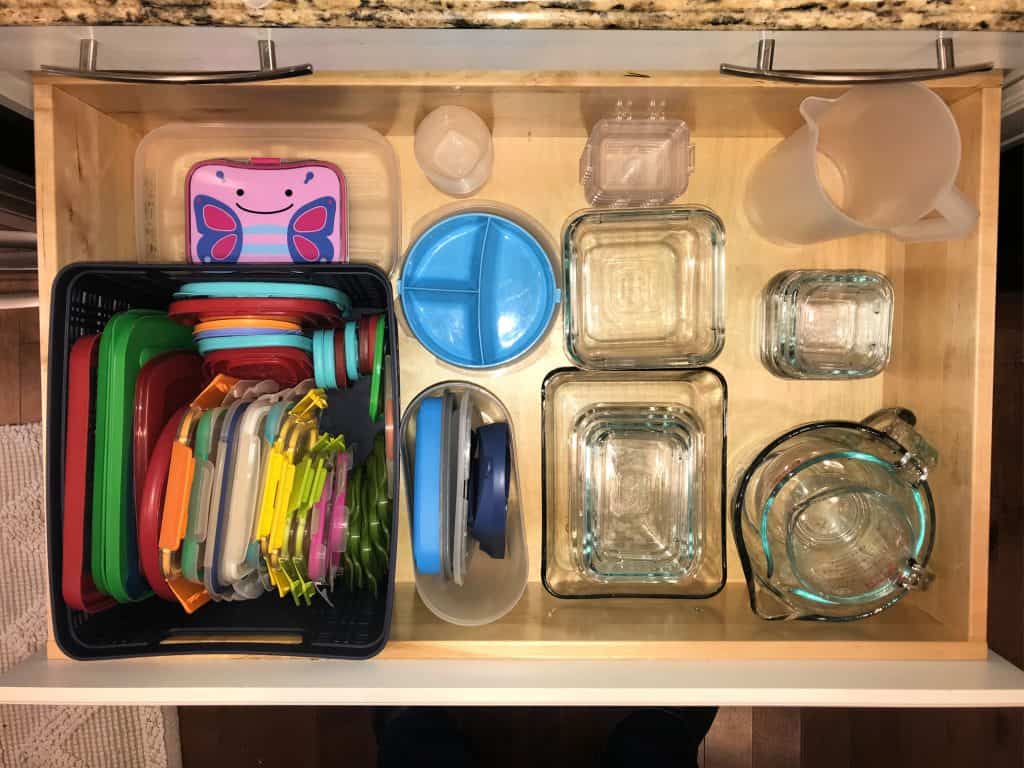
In my situation, we have our food storage containers in a drawer. We have a lot of containers and needed something to fit a wide variety of brands, shapes, and sizes. The basket/bin was the perfect option for keeping our lids organized and easily accessible. Consider your needs and decide what’s right for you!
Organize
Okay, now we’re to the final steps to organize your food storage containers today! You’ve decluttered and cleaned out your space and you’ve selected the storage solution that best meets your needs. This last step is the easiest. Now it’s time to sort your lids by shape, size, and color. Place them neatly in the storage solution(s) of your choice. By the way, I should mention that you may have multiple solutions. You might need both a bin and a divider for example.
After you organize your lids, then tackle the containers. Group round containers together, square together, and rectangle together. Stack starting with the largest at the bottom and work your way to the smallest at the top.
Arrange the lid storage and the containers in your space. You may choose to group by the material. For example, you may put the glass storage containers on the left and the plastic on the right or the kid’s containers on the top and the adult containers on the bottom. The goal is to have them accessible and in a way that is easy to maintain.
A Few Simple Steps
There you have it, with just a few simple steps you can organize your food storage containers today! Don’t let that drawer be a nightmare any longer. In about 30 minutes you can declutter, clean, select the storage solution that best meets your needs, and organize. It’s really as easy as that! So, go on…tackle it today, you’ll be glad tomorrow!

Want more Kitchen Organization Ideas? Check out these posts:
5 Insanely Easy Steps To An Organized Pantry
Pantry Food Shelf Life – How Long Does Food Really Last?

